ownCloud is open-source software that allows you to turn your server into your own cloud storage and sync files to your ownCloud server from your desktop or through mobile apps available from the iTunes App Store or Google Play.
If you have connected your server to SellCloud, this tutorial will show you how to use SellCloud to install ownCloud on your server using SFTP.
Creating an App in SellCloud
An app is a web application, such as ownCloud.
In SellCloud, click + Create App; this can be done immediately after connecting a server or by going to the Apps page.
Give your app a name and select the server you want this app to be on (probably the one you just set up).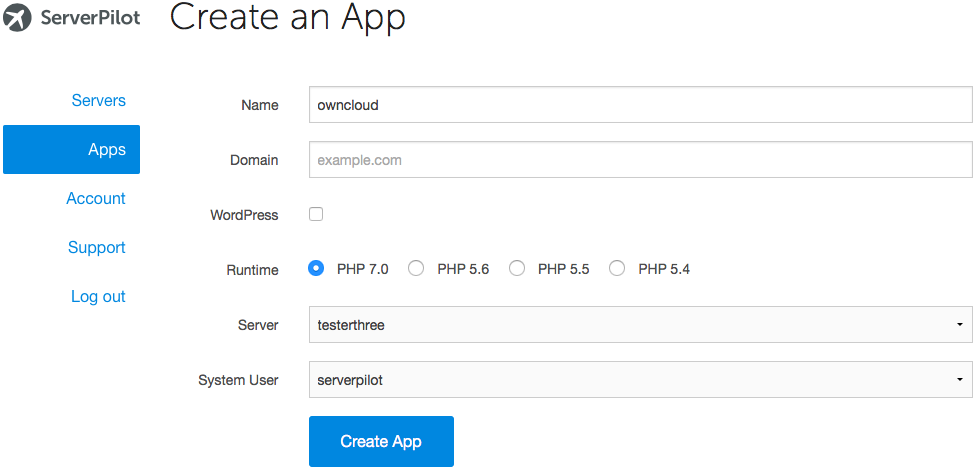
If you have set up additional system users, you'll be given another prompt to select which one you want to run this app.
Click Create App to submit the form. You'll be shown some details about the app.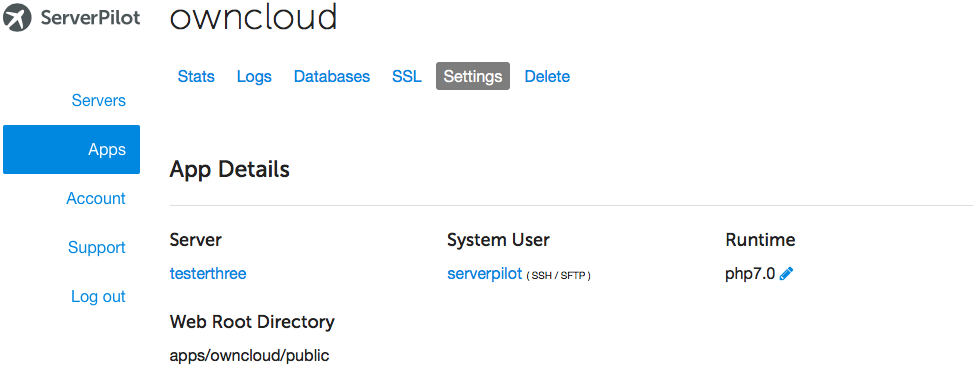
Creating a Database
ownCloud uses a MySQL database for its file syncing, so let's create one now.
Open your app in SellCloud and go to the Databases tab. Click + Create Database.
Choose a database name. A database username and password will be generated for you. Write these down so you can enter them into the ownCloud Setup Wizard.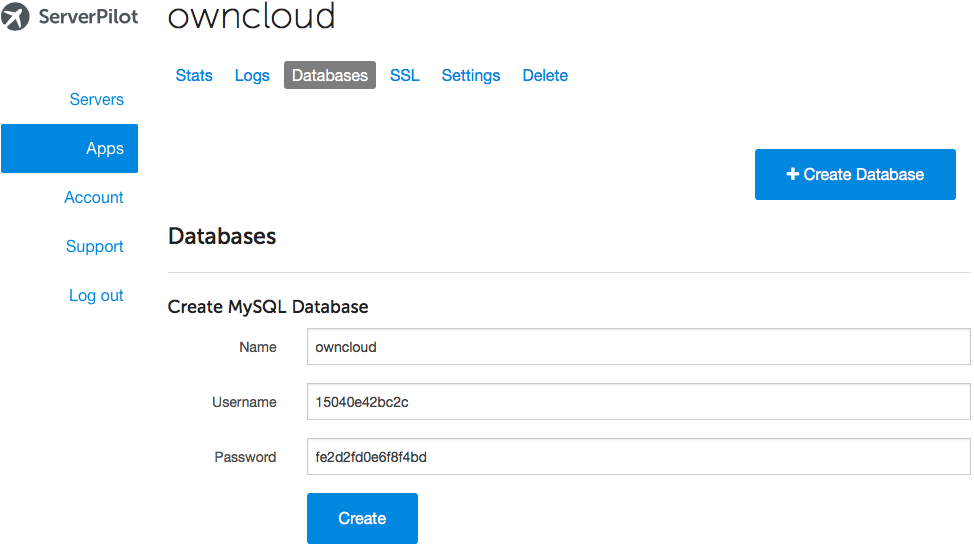
Click Create.
If you forget your database password and need to reset it, just click on the database user in SellCloud to see the change password form.
Installing ownCloud through SFTP
Open a new tab in your browser and navigate to ownCloud's Download page.
Click Download under Step One of "Get Started!"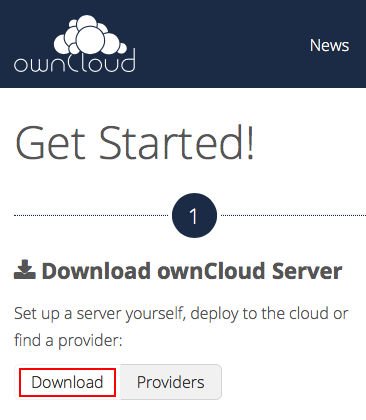
In the pop-up window, select the tab Archive File for Server Owners and right-click the link in Step One to save your preferred archive file to your computer's Downloads folder.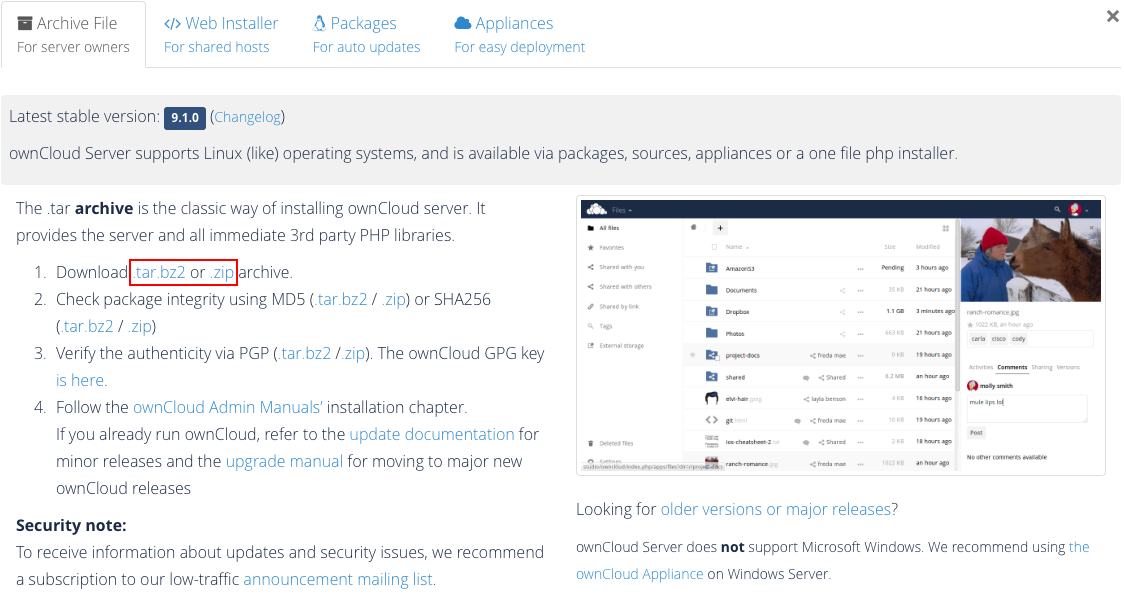
Next, log in to your server through Cyberduck (or your preferred SFTP client) with the system user that created your app in SellCloud. (If you followed our tutorial on configuring Cyberduck, this connection may already be displayed under Cyberduck's History tab, and you can double-click it.)
Follow this path to your app directory:
apps/APPNAME
(We named our app "owncloud".)
Now, find the new archive file in your computer's Downloads folder and drag it into your app directory in Cyberduck.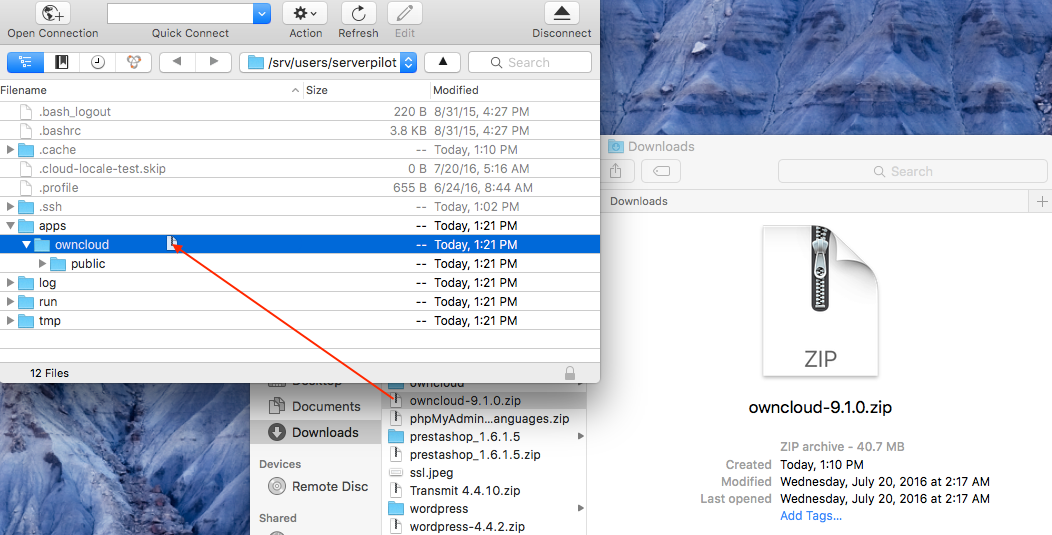
In Cyberduck, click once on the archive and then select Expand Archive from the File menu.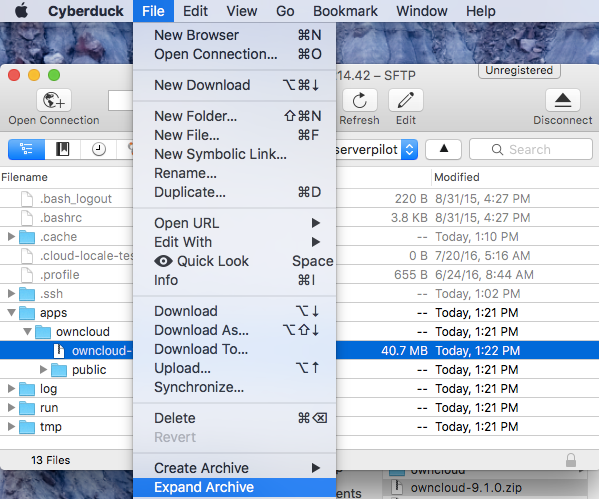
After the archive has expanded, delete both the archive and your app's original public folder.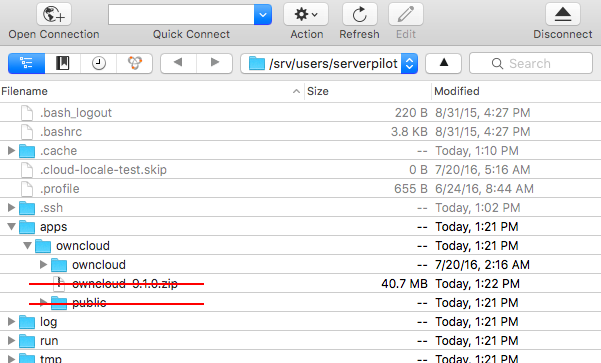
Rename the new owncloud folder in your app to public.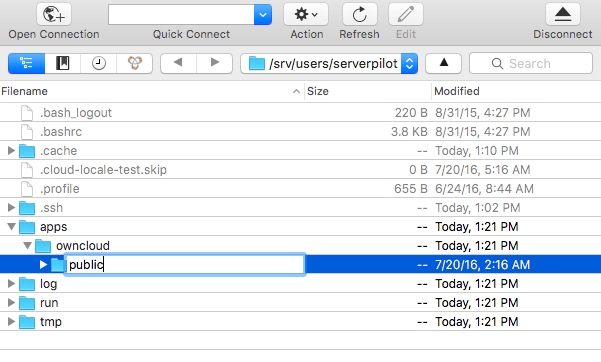
Configuring Your ownCloud Database
Now, visit your IP address or the domain for the app on which you installed ownCloud.
Here, you should be prompted to create your admin account and to configure your database.
By default, ownCloud uses SQLite; however, because MySQL offers greater speed and reliability, we'll set up ownCloud to use it.
After entering a new ownCloud admin username and password, click Storage & Database.
Then, click MySQL/MariaDB and enter your app's database username, password, and name that you created in SellCloud.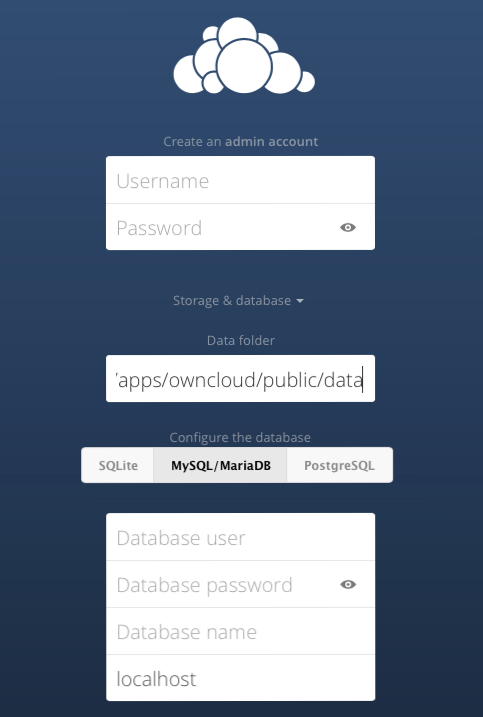
Click Finish Setup, and you'll be taken to your ownCloud Dashboard.
Follow ownCloud's instructions on how to sync to your ownCloud from your desktop or mobile device.
Alert: Please view the latest updated tutorial here: Panel Tutorials
Alert: For Control Panel Help & Tutorials, click here: Panel Tutorials


