If you have connected your server to SellCloud, this tutorial will show you how to install Magento Community Edition 1.9 on your DigitalOcean server using SFTP.
If you receive this message on a 16.04 server:
Database server does not support InnoDB storage engine
it is an incorrect error that actually means Magento 1.9 is not compatible with MySQL 5.7.
Creating an App in SellCloud
An app is a web application, such as Magento.
In SellCloud, click + Create App; this can be done immediately after connecting a server or by going to the Apps page.
Give your app a name and select the server you want this app to be on (probably the one you just set up).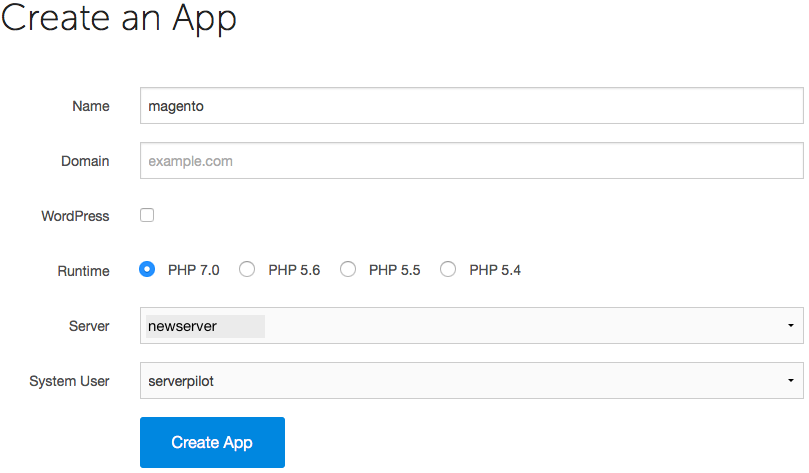
You may also select the system user you want to run this app.
Click Create App to submit the form. You'll be shown some details about the app.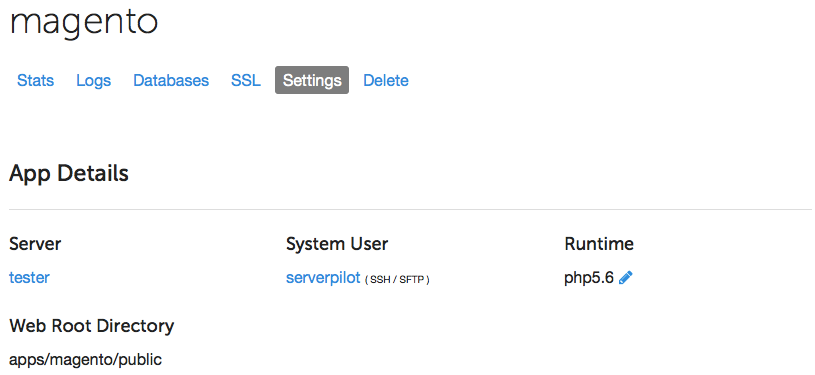
Creating a Database
Magento requires a MySQL database to be created before you run its installer. Let's do this now.
Open your app in SellCloud and go to the Databases tab. Click + Create Database.
Choose a database name. A database username and password will be generated for you. Write these down so you can enter them into the Magento Installer, and then submit the form in SellCloud to create the database.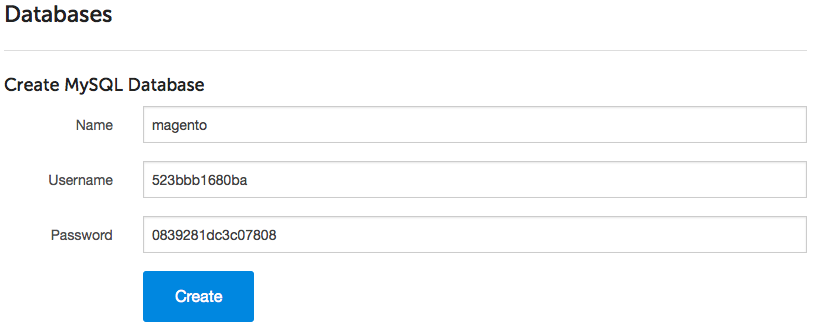
If you forget to write down the database password and need to reset it, just click on the database user in SellCloud to see the change password form.
Installing Magento Using SFTP
After logging in or creating an account at www.magento.com, open the Release Archive tab on the Magento Community Edition page.
In the Downloader box, select magento-downloader-MOST.RECENT.VERSION.zip from the drop-down menu. Click Download.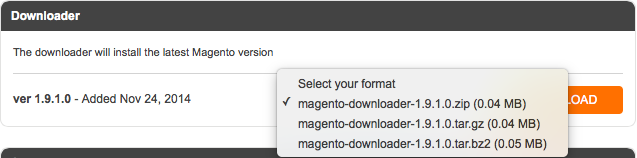
When the download completes, decompress the ZIP file.
Now, log in to your server through Cyberduck (or your preferred SFTP client) with the username sellcloud and the password you created when you connected your server to SellCloud. (If you followed our tutorials on uploading files and configuring Cyberduck, then your server may already be displayed under Cyberduck's History tab, and you can double-click it.)
Follow this path to your app's web root directory:
apps/APPNAME/public
In this example, we named our app "magento".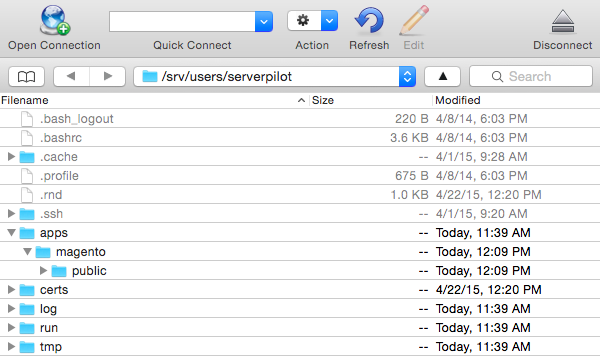
Next, find the new downloader.php file in your computer's Downloads folder and drag it into your app's web root directory in Cyberduck.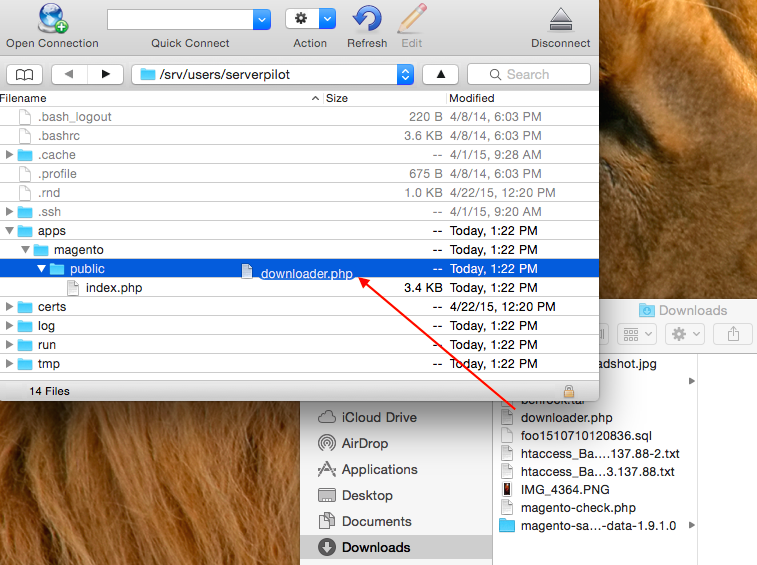
In your browser, visit YOUR.I.P.ADDRESS/downloader.php. Follow the instructions in the Magento Installer and, when asked, use the MySQL username and password you created in SellCloud. Leave the default settings as they are for the download and installation screens.
After you complete the setup, be sure to install all critical security patches.
You can also install Adminer to manage your database.
That's It
When finished, you'll be able to log in to your brand new, blazingly fast Magento dashboard.
SellCloud will keep your server's system packages updated with security updates. SellCloud also configured a firewall on your server so you don't have to worry about that.
We've taken the pain out of server management so you can focus on your apps.
Happy eCommercing!
Alert: For Control Panel Help & Tutorials, click here: Panel Tutorials


