Groups or Distribution Lists are common email addresses shared by a set of users with a common purpose. When an email is sent to the group account, a copy of the email gets delivered to all the individual members of the Group. To create a group,
- Click Proceed to Setup Groups to launch the Groups section in the Admin Console. Once there, click Create your first group now! button.
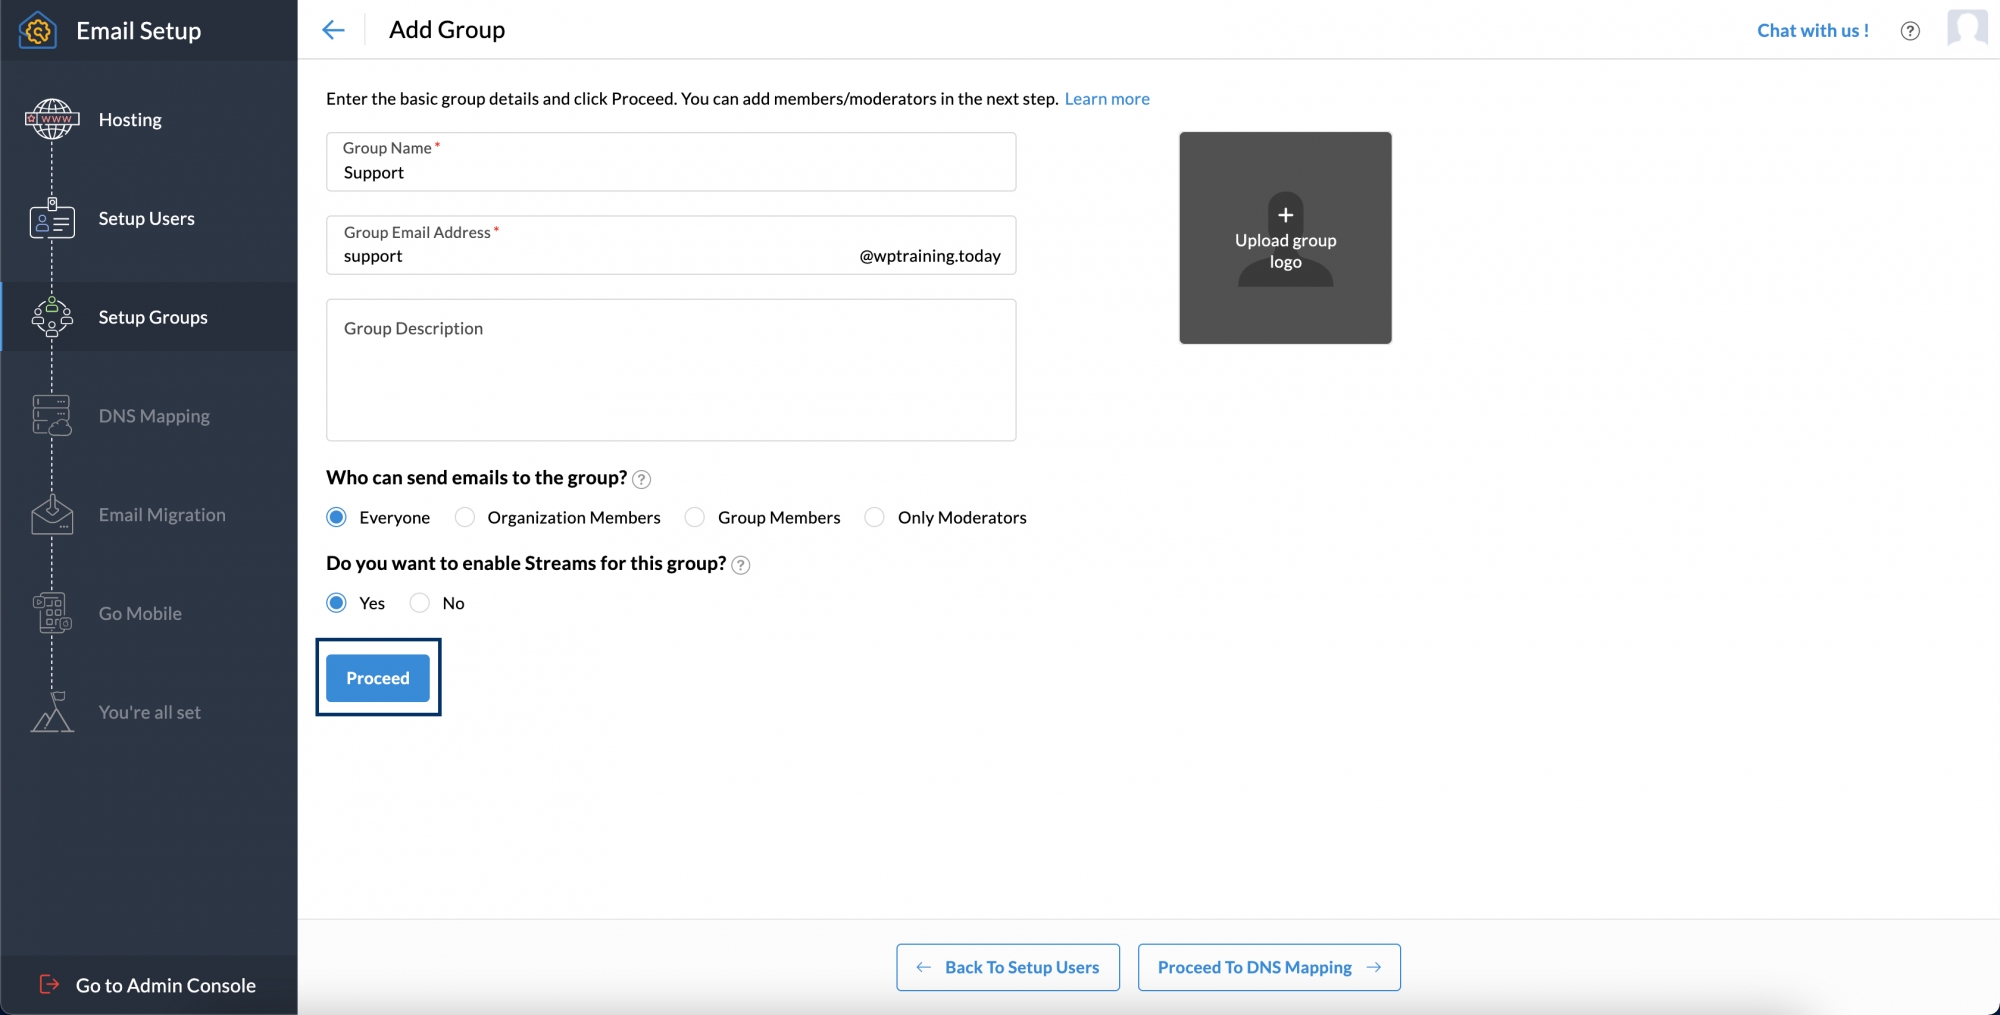
- Enter your group name, group email address, and description. You can also choose the access level of the group depending on your requirements.
- After choosing if you want to enable streams for the group, click Proceed.
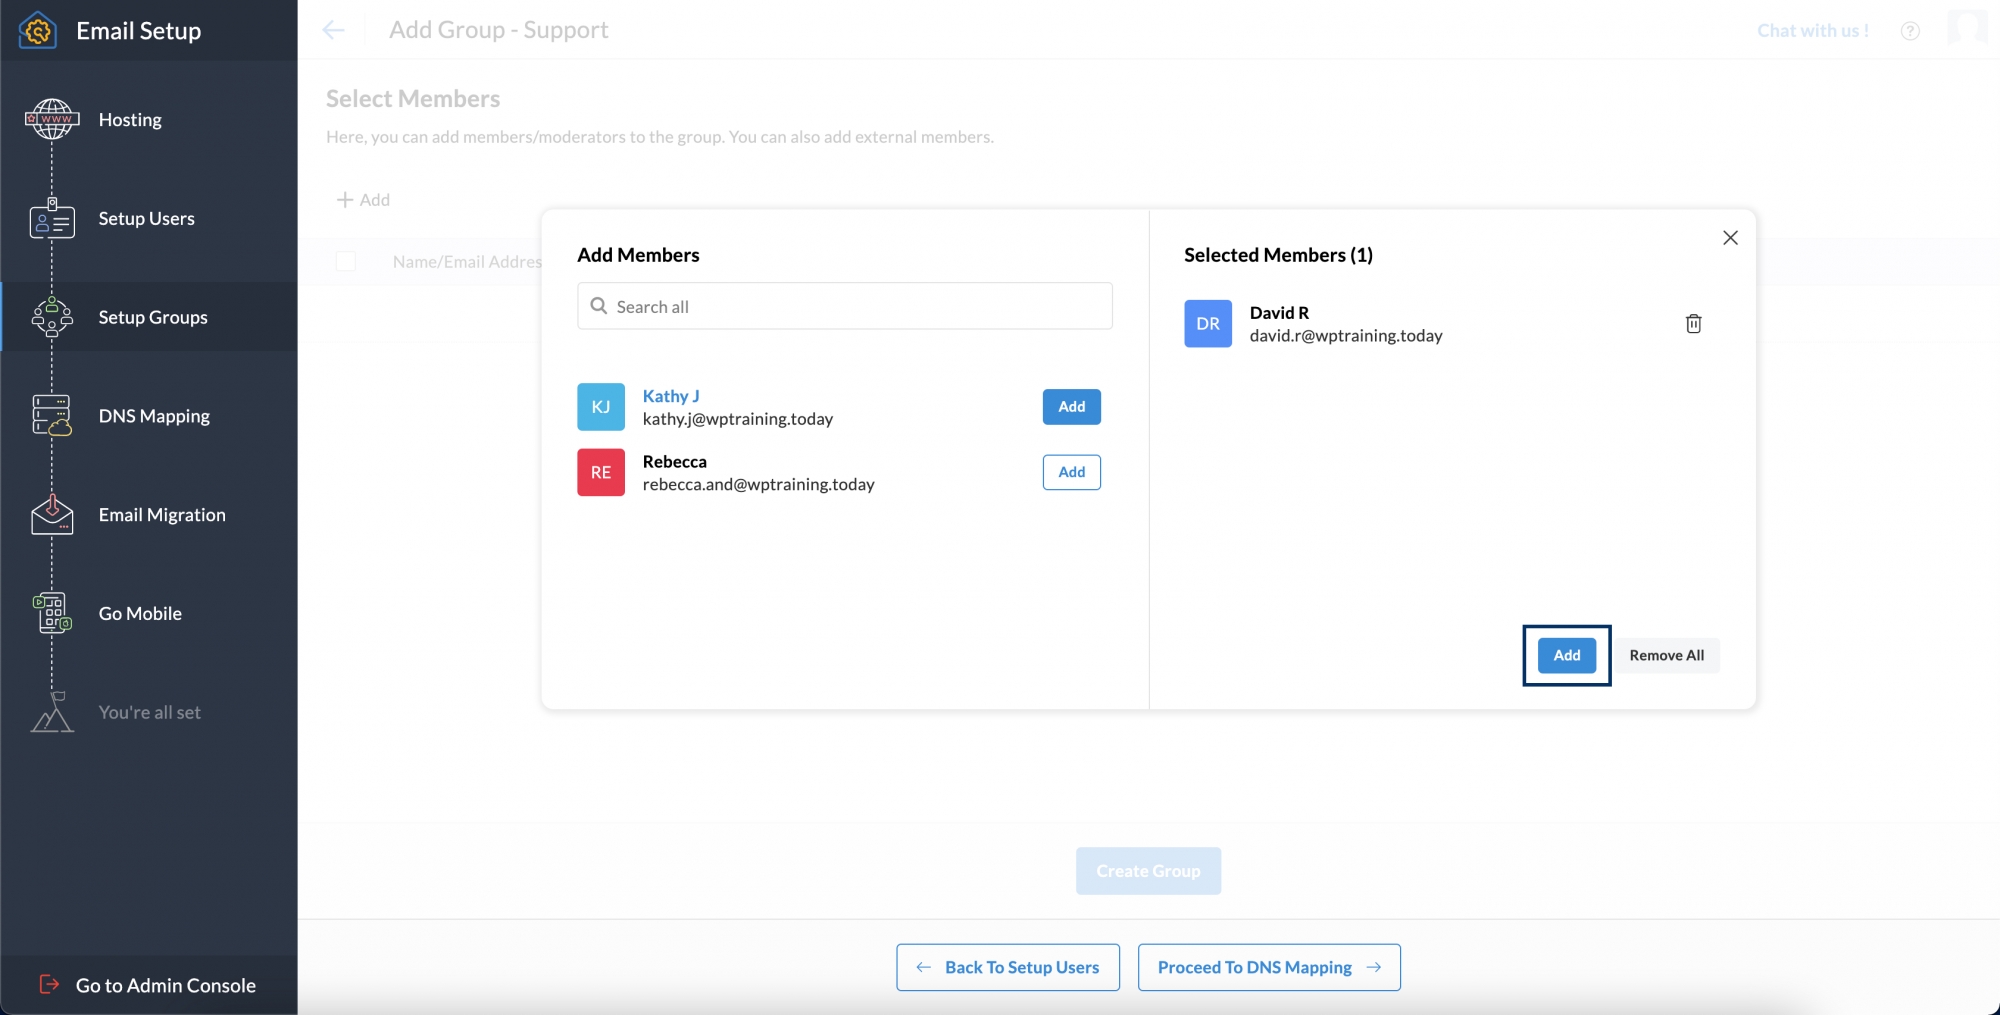
- On the Select members page, you can add users to your group. To do the same, click Add.
- Your organization's users will be displayed for you to choose from. If you want a user to be part of the group, click the Add button next to the respective user and then click Add again.
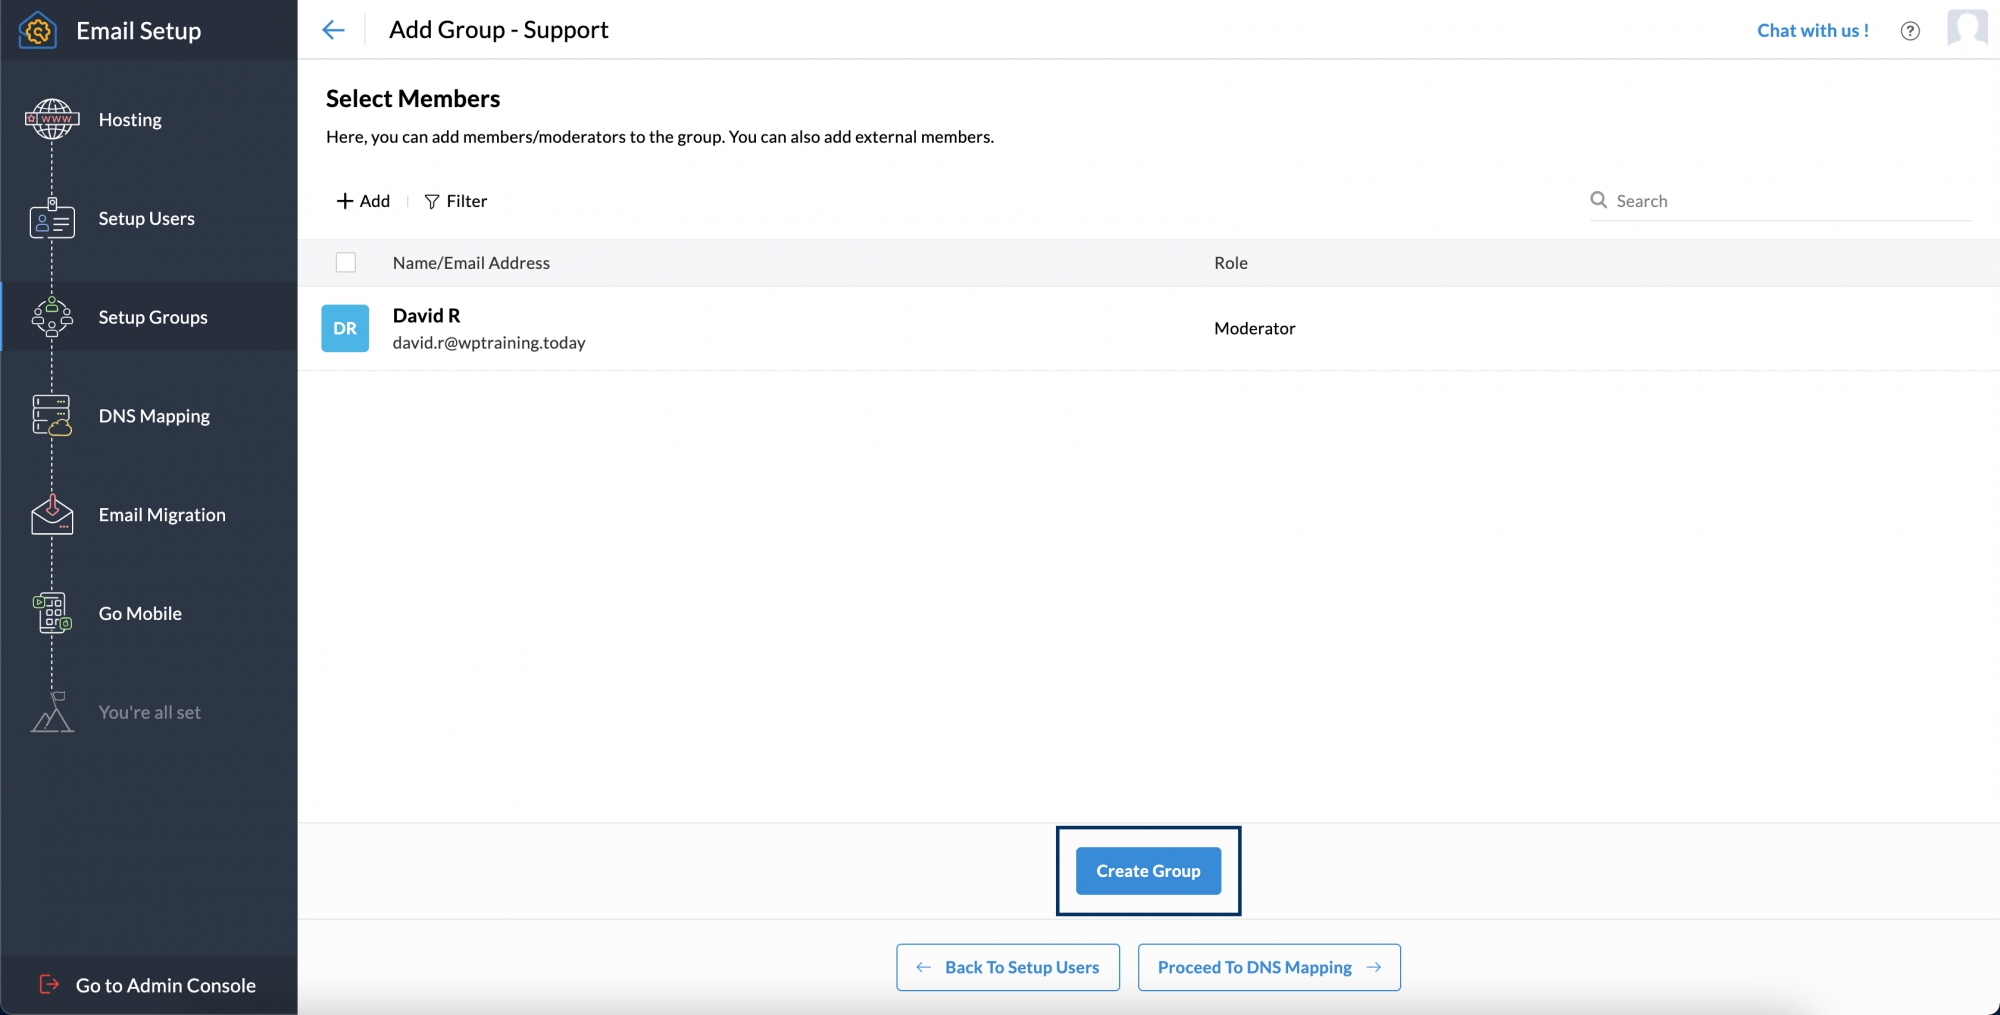
- You can change the role of a user - to Member or Moderator, by clicking the role of the respective user.
- Once done, click Create Group.


Note: You can also choose to skip this step and add groups later. But, if you want to migrate data from other services, it's recommended you create your distribution lists right away.
