
Step 1. Set up Your Destination Server and Site
if you haven't already provisioned a server to host the site you're migrating, do so now from your Sellcloud admin panel.
Step 2. Install Sellcloud backup pro plugin on Both Websites
The plugin can be downloaded from your Sellcloud admin panel > Dashboard > Wordpress > Web Application > Web App > Plugins. Login to your Wordpress Dashboard > Plugins > Add New and install and activate the plugin on the origin website (if not hosted here) and in the destination website (if hosted here at Sellcloud), the plugin is auto installed by default.

Step 3. Disabling all caching, firewall and security plugins
Before you begin, we recommend disabling all caching on your origin and destination server before proceeding. This includes any server-based page and object caching system like Redis. In order to successfully complete the migration, you'd better deactivate 301 redirect plugin, firewall and security plugin, and caching plugin (if they exist) before transferring website.
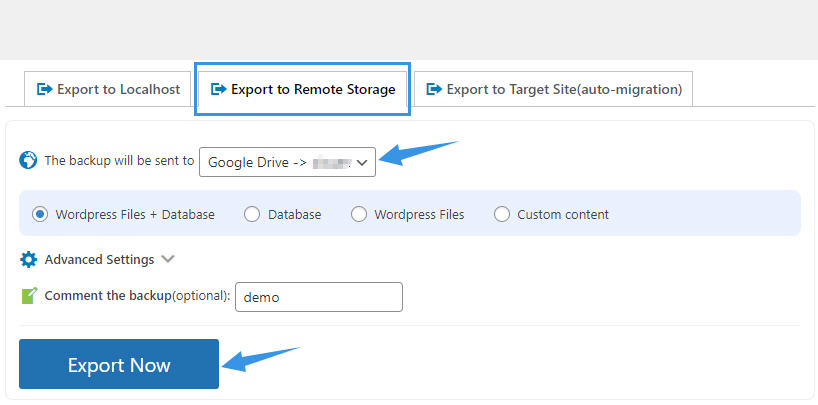
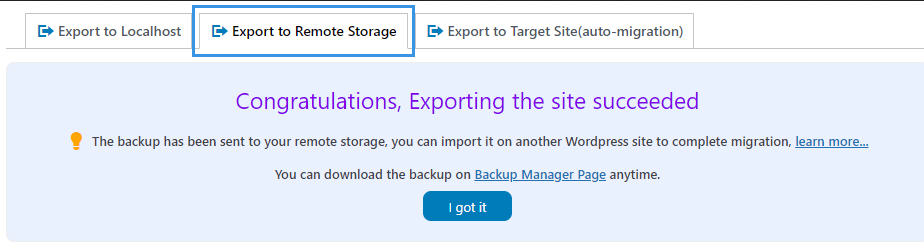
Step 4. Export the Source Site to Remote Cloud Storage
On the source site(where you want to migrate from) > Sellcloud Backup Pro > Export Site > Export to Remote Storage, select remote storage you want to export the site to(you will need to connect to a remote storage before you can use it). Then choose what content you want to export, and add a comment to the exported zip(s) for better identification(optional). After that, click on Export Now button.
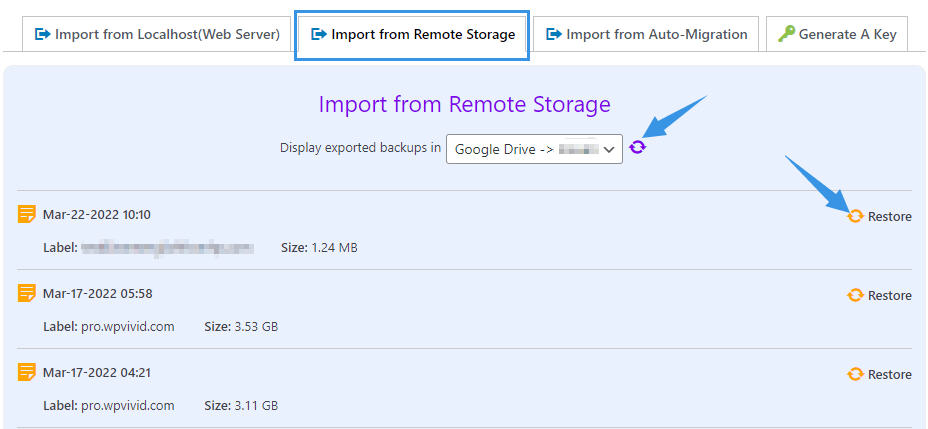
Step 5. Import the Source Site to the Target Site from the Remote Storage
Once the source site is exported to the remote storage, you can go to the target site(where you want to migrate to), connect to the same remote storage(skip this if you have already connected to it). Then go to Sellcloud Backup Pro > Import Site > Import from Remote Storage, Click the "refresh" icon to display the exported site to the list. Then you can click the Restore button to restore the site.
The restore process will begin and you can follow along with the output in the box below the button. Once completed the site will notify with this message: "Restore completed successfully."
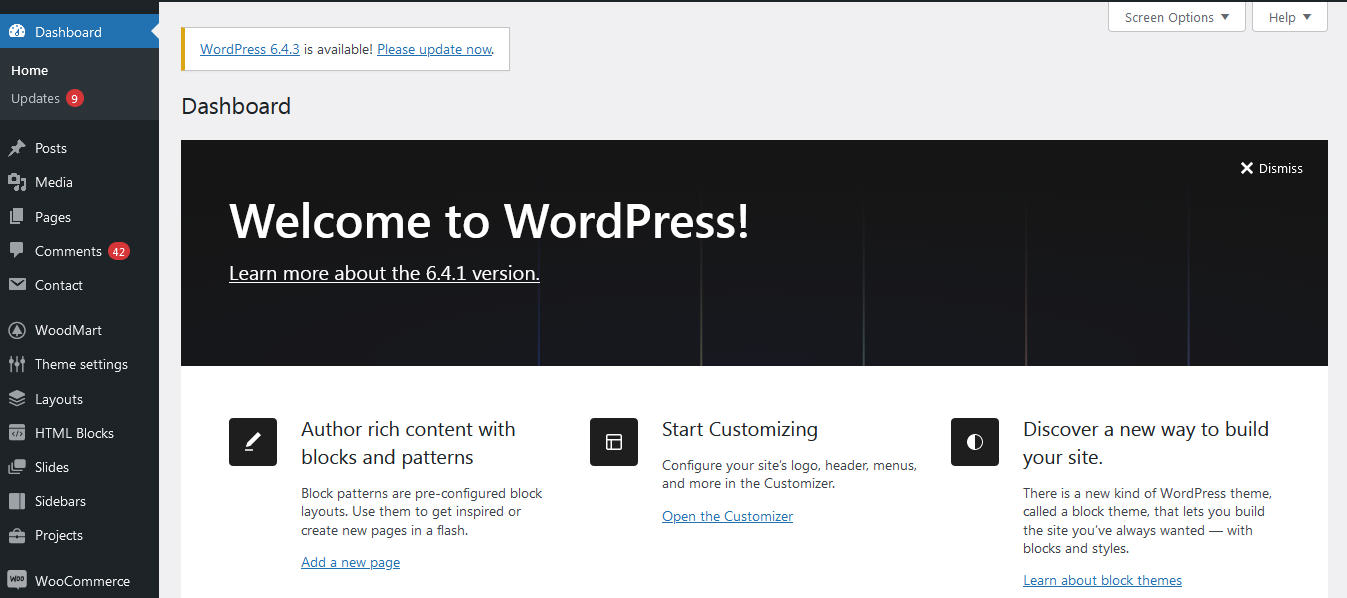
Step 6. Check Your Website
With the restore now complete, you'll need to log in to your website. Remember that you need to use the old site's log in details to access the new site (as new site is a clone of the old site). Users (and passwords) are stored in a site's database, so if you copy the DB from one place to another, the user logins go along. Check over your website to ensure that everything is working as expected. Turn your disabled plugins back on, and then enable caching when you're satisfied that the migration has been a success.