
This tool is for advance users. phpMyAdmin is a PHP script meant for giving users the ability to interact with their MySQL databases. It's Graphical User Interface and advanced features such as ability to import and export data in CSV and SQL format, running queries, etc performed easily.
Installing phpMyAdmin on its own app has some benefits, including access through a subdomain rather than from a subdirectory and the elimination of potential conflicting .htaccess rules installing it on an existing app could cause.
How to Setup phpMyAdmin
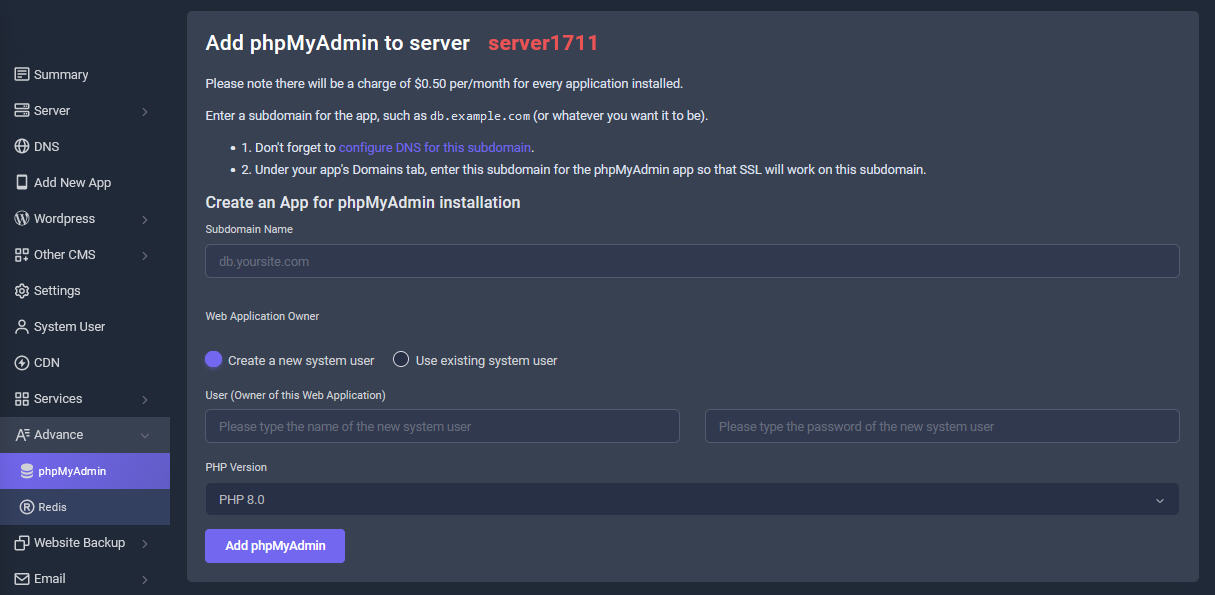
Add phpMyAdmin to server
Log in your Sellcloud panel, enter Advance tab management page. Click on phpMyAdmin button
Please note there will be a charge of $0.50 per/month for every application installed.
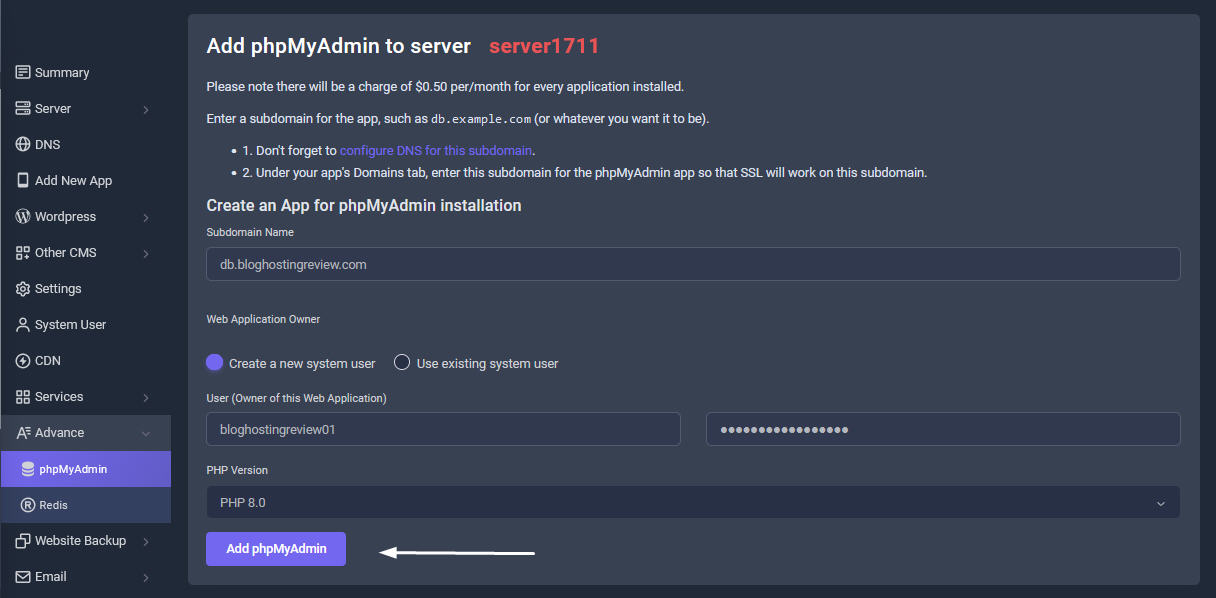
Enter a subdomain for the app, such as db.example.com (or whatever you want it to be).
2 things to do before accesssing phpMyAdmin
- 1. Don't forget to configure CNAME DNS for this subdomain as shown - scroll below this tutorial.
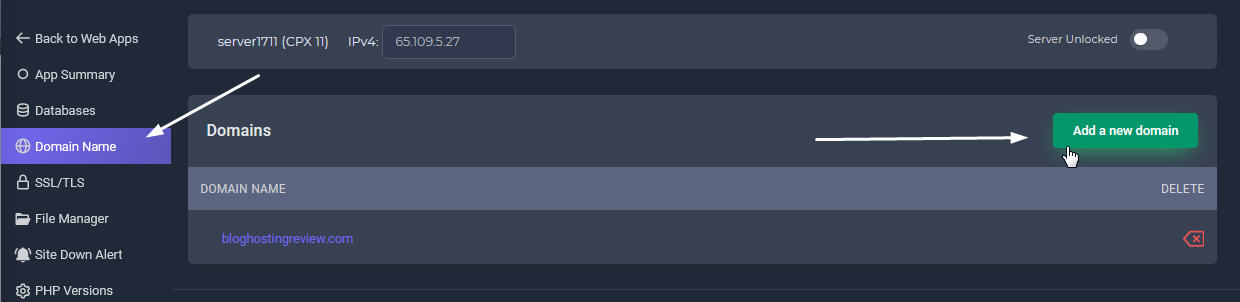
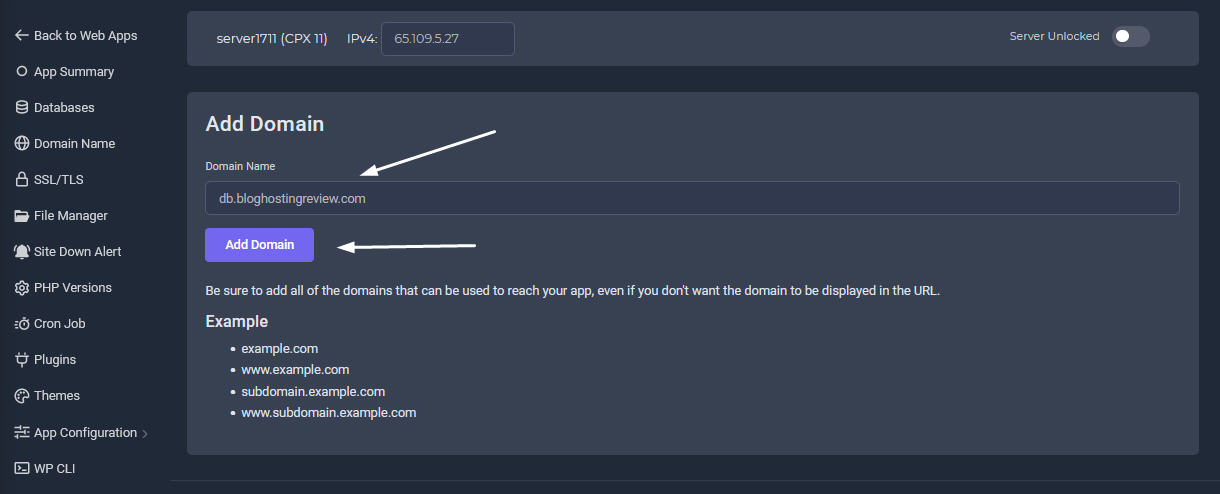
- 2. Under your app's Domains tab, enter this subdomain for the phpMyAdmin app so that SSL will work on this subdomain as shown - scroll below this tutorial..
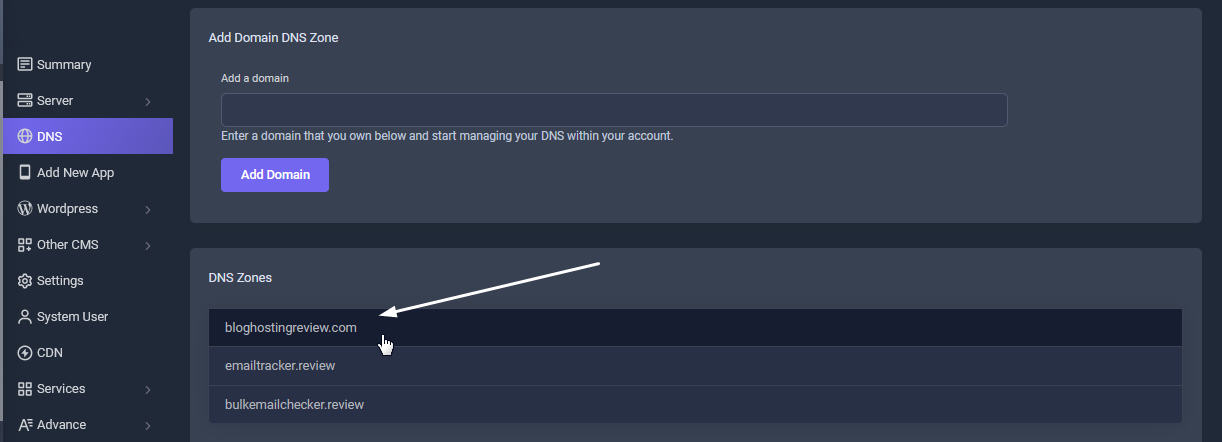
Setup DNS for phpMyAdmin
Now go to DNS tab. From there, click the domain associated with the database where you have installed phpMyadmin. The database url will be db.bloghostingreview.com. So click DNS for bloghostingreview.com.
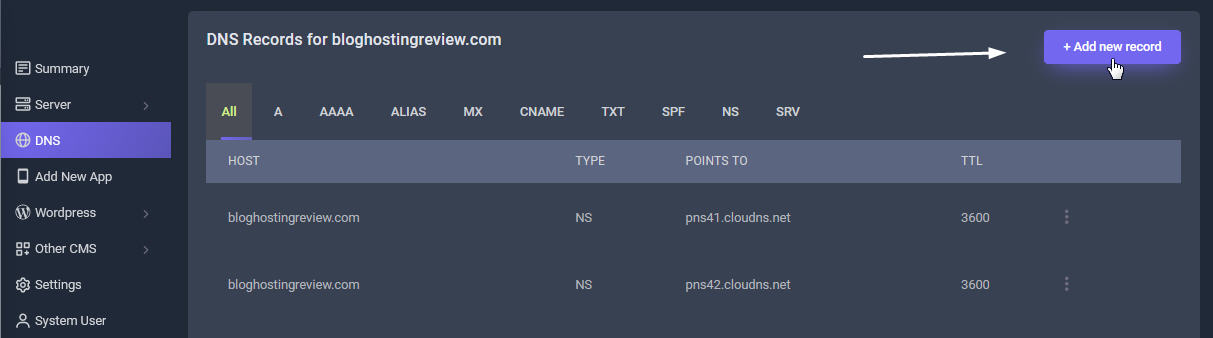
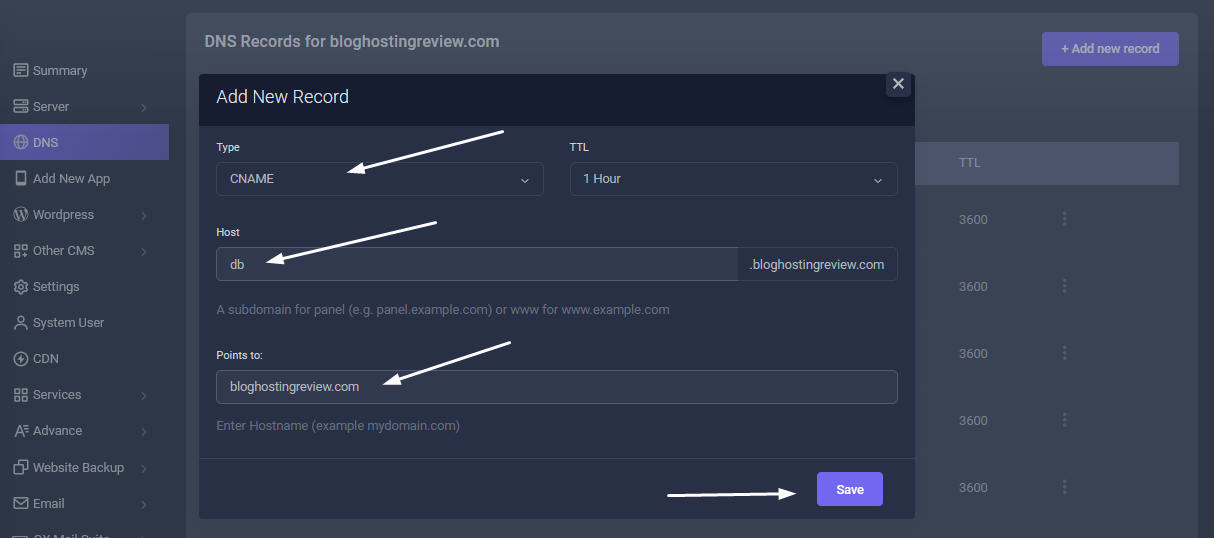
Add CNAME Record for the Subdomain
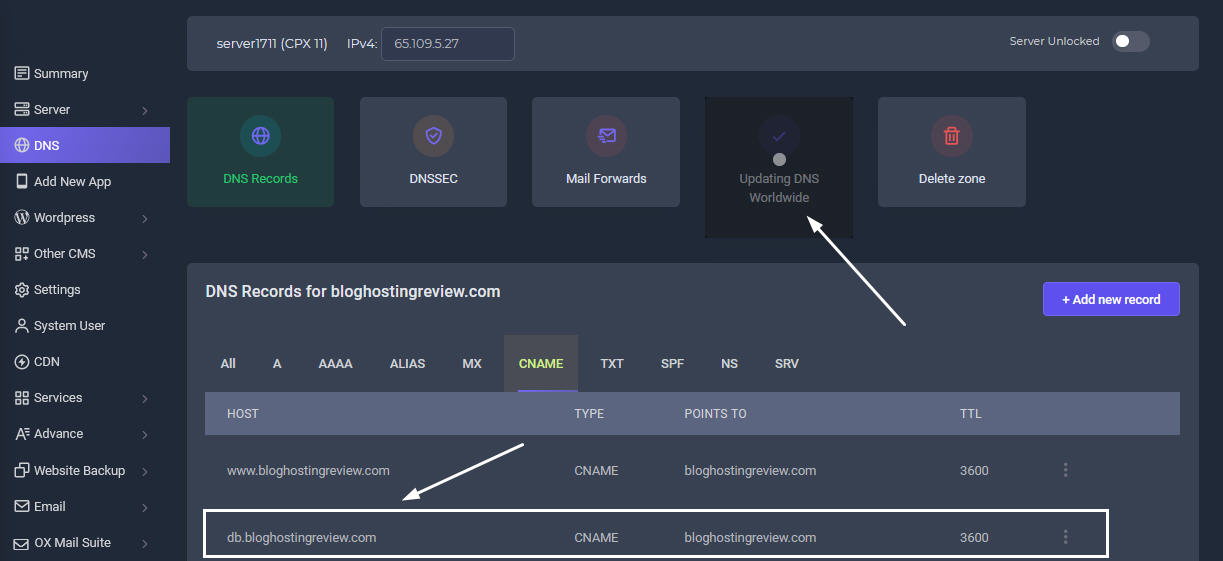
In the pop-up form, fill in the details as shown in the image. In the pulldown menu select CNAME. Next add db in the subdomain field (Example: db.bloghostingreview.com). In the last field add your host domain name. Example: bloghostingreview.com. Then click Save Record
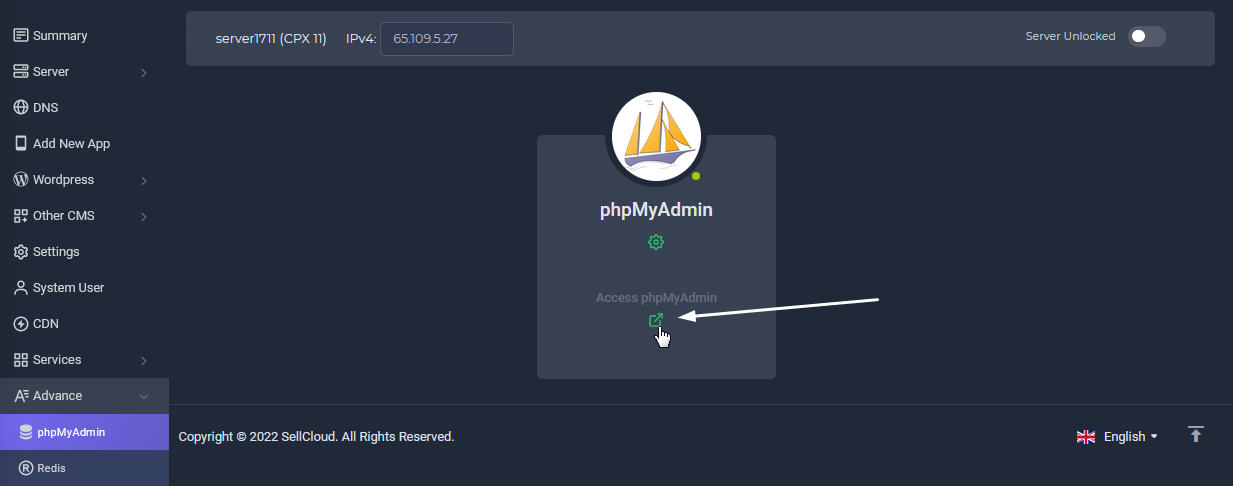
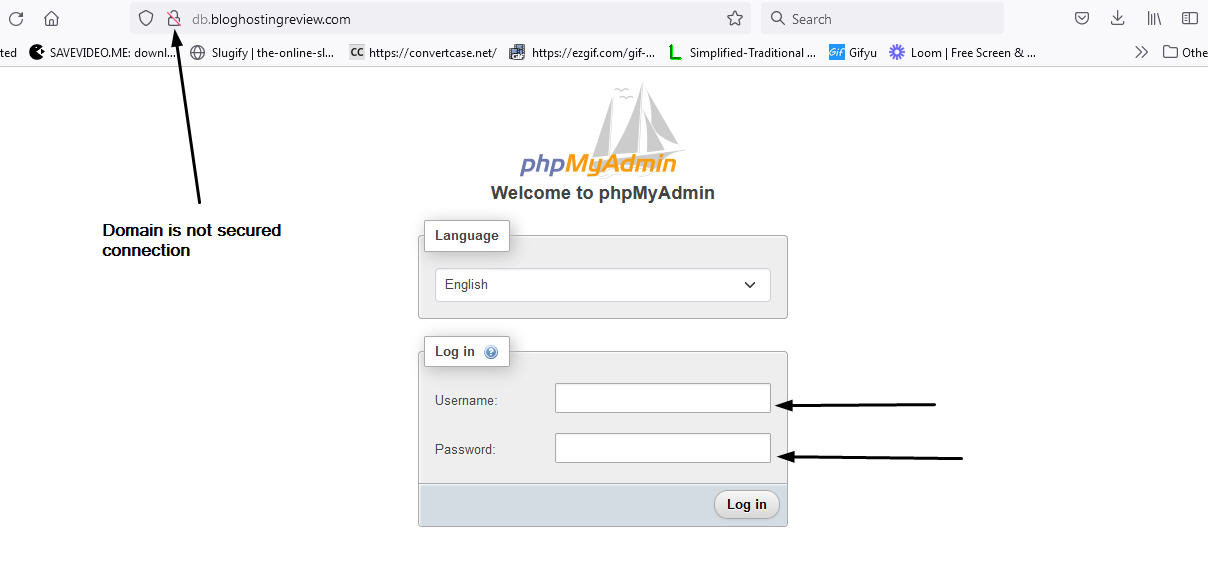
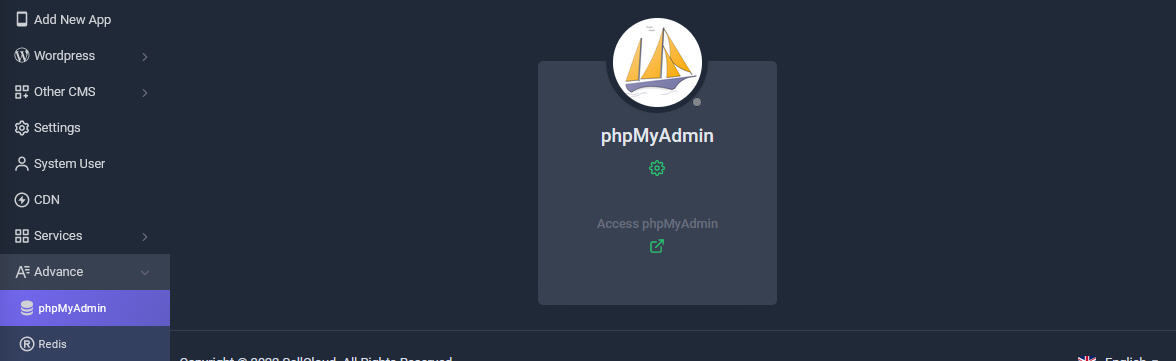
phpMyAdmin Login Panel
This is the phpMyAdmin login panel. Access it with the username and password you created earlier.
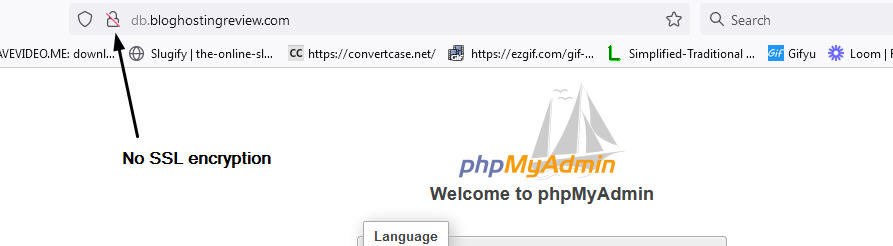
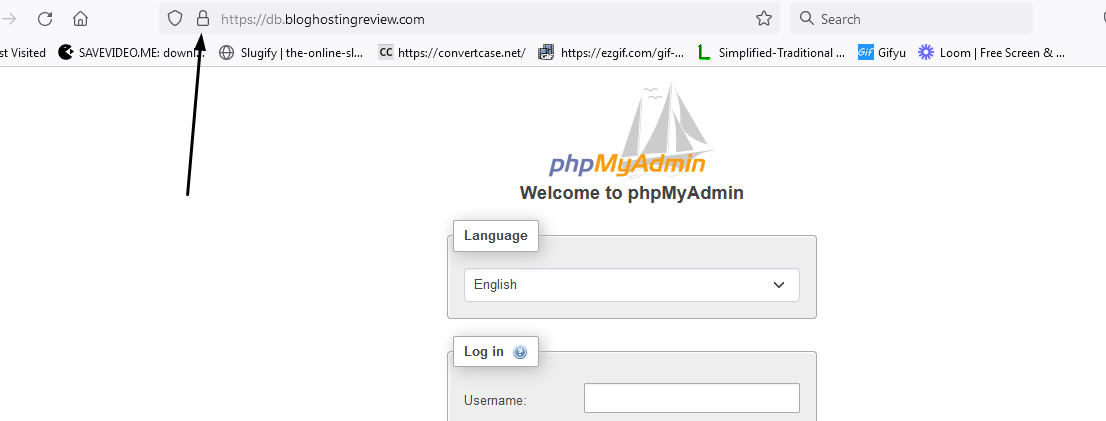
Now try accessing the phpMyAdmin login url. You will see that SSL is now enabled. Here is a guide on Database Management with phpMyAdmin
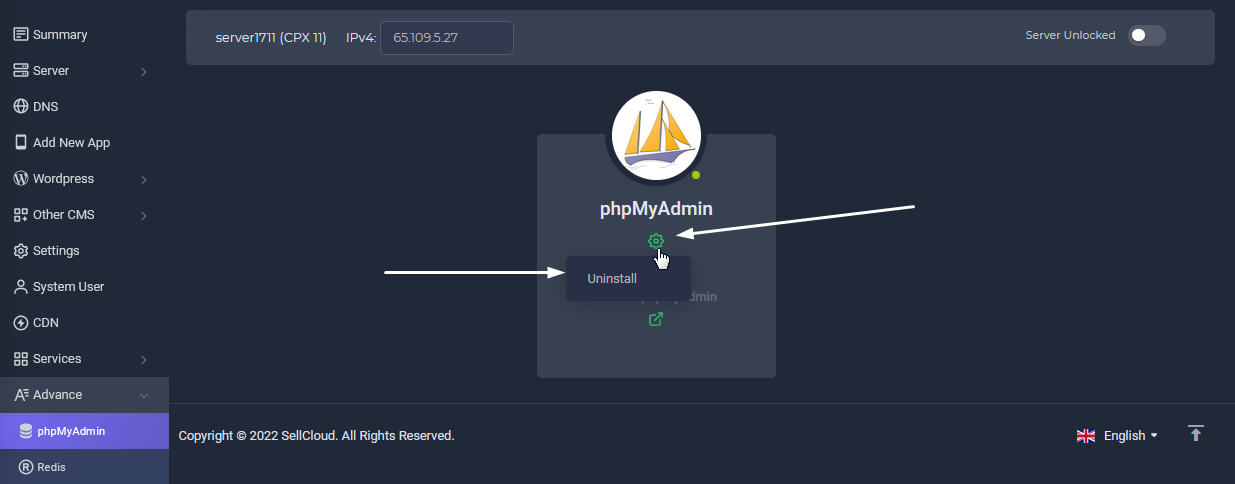
Uninstall phpMyAdmin
If you want to unistall phpMyAdmin, click the cog icon to uninstall it from your server