It's easy to host WordPress in a subdirectory when you're using SellCloud.
First, open your existing app in SellCloud and create a new database for WordPress.
For these instructions, we're using our existing magento app.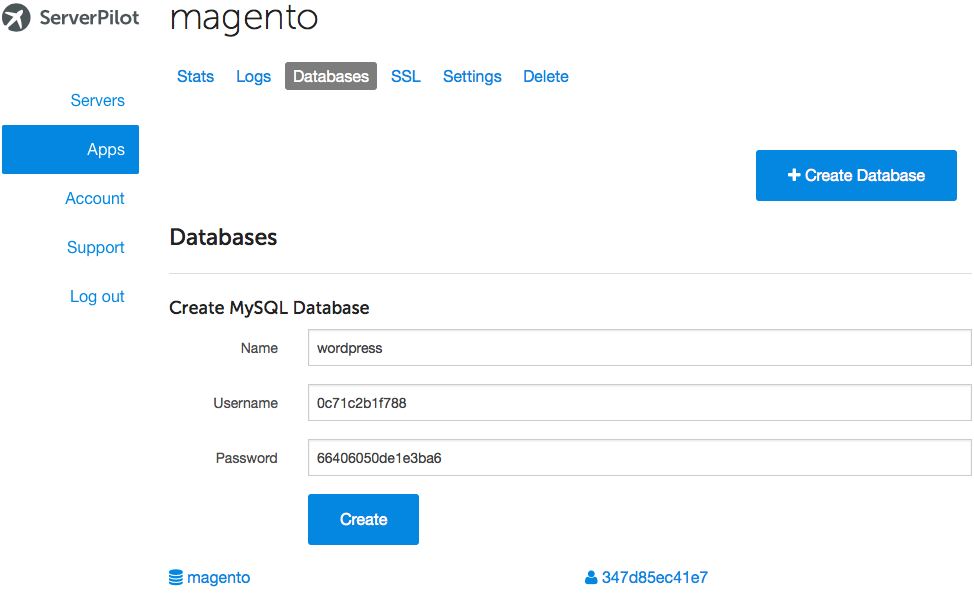
Be sure to write down the MySQL database username and password that SellCloud generates for you.
Now, log in to your server through your SFTP client with the username sellcloud (or the system user the app belongs to) and the password you created when you connected your server to SellCloud.
Follow this path to your exiting app's web root directory:
apps/APPNAME/public
Again, we're using our existing app "magento".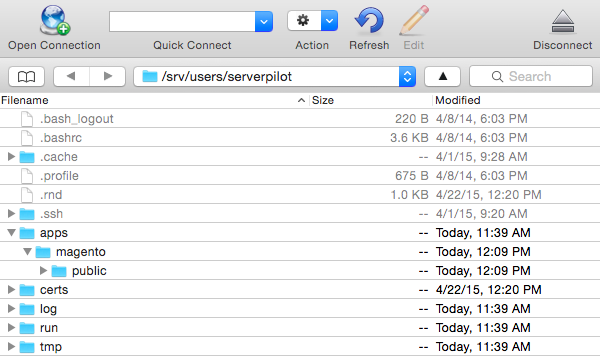
Open a new tab in your browser and visit https://wordpress.org. Click Download WordPress at the top of the page.
After the download completes, drag the WordPress archive from your computer's Downloads folder into your Magento app's public folder.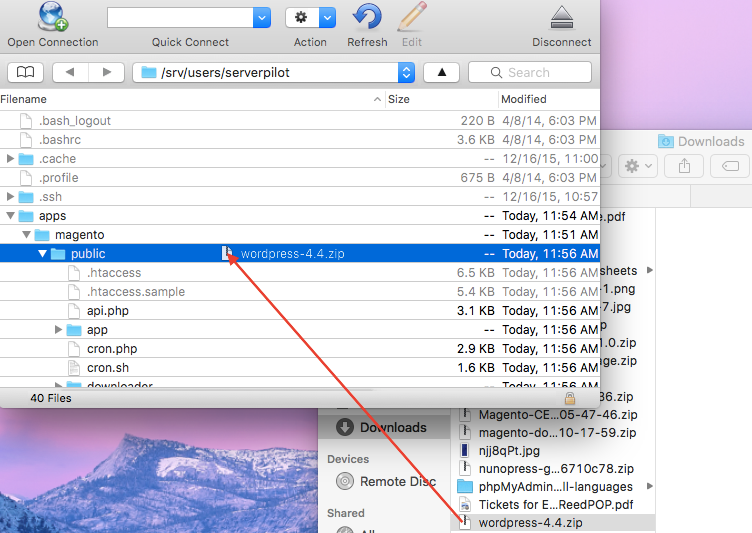
Then, click once on the WordPress .zip file and select Expand Archive from the Cyberduck File menu.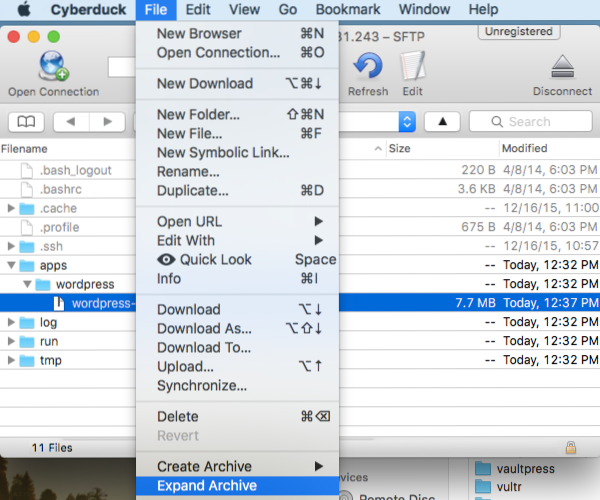
When the archive has finished extracting, you will have a new WordPress subdirectory in your Magento app.
You can rename this folder if you like, but be aware when labelling this new folder that its name will follow your domain in the URL. (For clarity, we're naming our subdirectory wordpress.)
Now, open a new tab in your browser. Navigate to the subdirectory you just created within your app.
www.YOURDOMAIN.com/SUBDIRECTORY
In our case, this would be
www.example.com/wordpress
Proceed with the WordPress installation using the database credentials you created earlier.
When finished, you'll be able to log in to your WordPress Dashboard through your subdirectory.
Alert: For Control Panel Help & Tutorials, click here: Panel Tutorials


