This tutorial will guide you through the process of migrating your existing WordPress app from GoDaddy shared hosting to a DigitalOcean virtual private server.
First, follow our instructions to create a new app on SellCloud, but do not install WordPress.
In your browser, sign in to your GoDaddy Hosting Details and select Databases from the left side of the screen.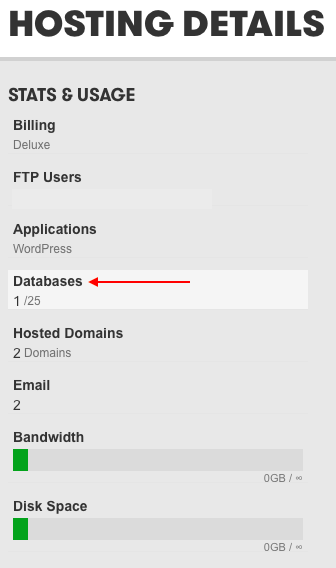
Copy the name of the database attached to the WordPress app you’ll be migrating.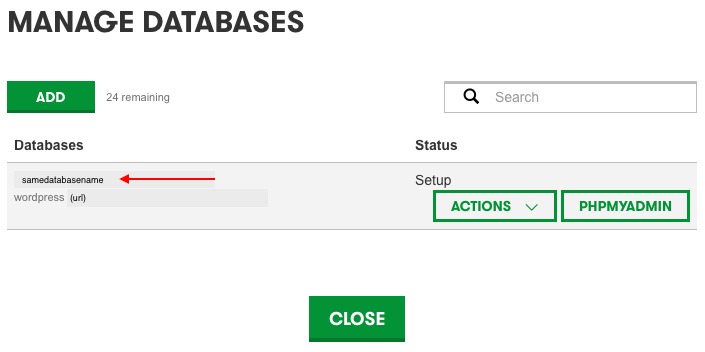
Next, create a new database in SellCloud for your new app with the same name as the existing database.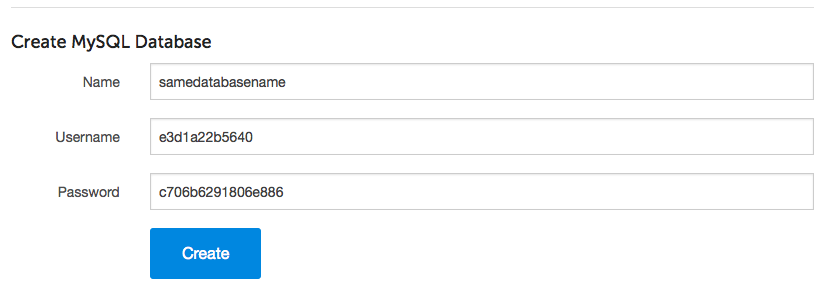
FTP in to your web root directory on GoDaddy using Cyberduck or your preferred FTP/SFTP client. (Note that GoDaddy prefers an FTP connection here.) Open a second Cyberduck browser and SFTP in to your new server.
Copy your existing WordPress files to your new app’s web root directory (public) on the new server. (Make sure Cyberduck is set to show and edit all of your files.)
Double click wp-config.php in the app on your new server and change the database username and password to the ones created in SellCloud. Also, set the MySQL hostname to localhost.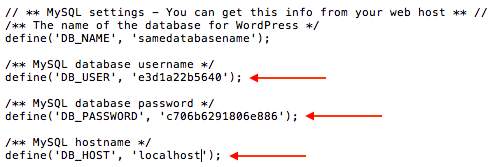
Save your changes and close your text editor. Click the Refresh button to update the file on your server.
Now, export your database from your old server using phpMyAdmin.
If you don't already have it installed on another app, install phpMyAdmin on your new server.
Then, import the database to the new server using phpMyAdmin.
Alert: For Control Panel Help & Tutorials, click here: Panel Tutorials


