DeployBot is a service that will automatically deploy files from your GitHub or BitBucket repositories to your apps. The Basic plan costs $15 per month and allows you to deploy code from up to 10 git repositories.
Changing the Web Root Directory
Before you use DeployBot for your deployments, you must first change your app's web root directory from public to current. We'll do this with a symlink.
First, SSH in to your server as the app's system user; for example, sellcloud.
Then, remove the existing public directory with these commands (replacing APPNAME with the name of your app):
rm apps/APPNAME/public/index.php
rmdir apps/APPNAME/public
Finally, create a symlink from public to current:
ln -s current apps/APPNAME/public
Connecting DeployBot
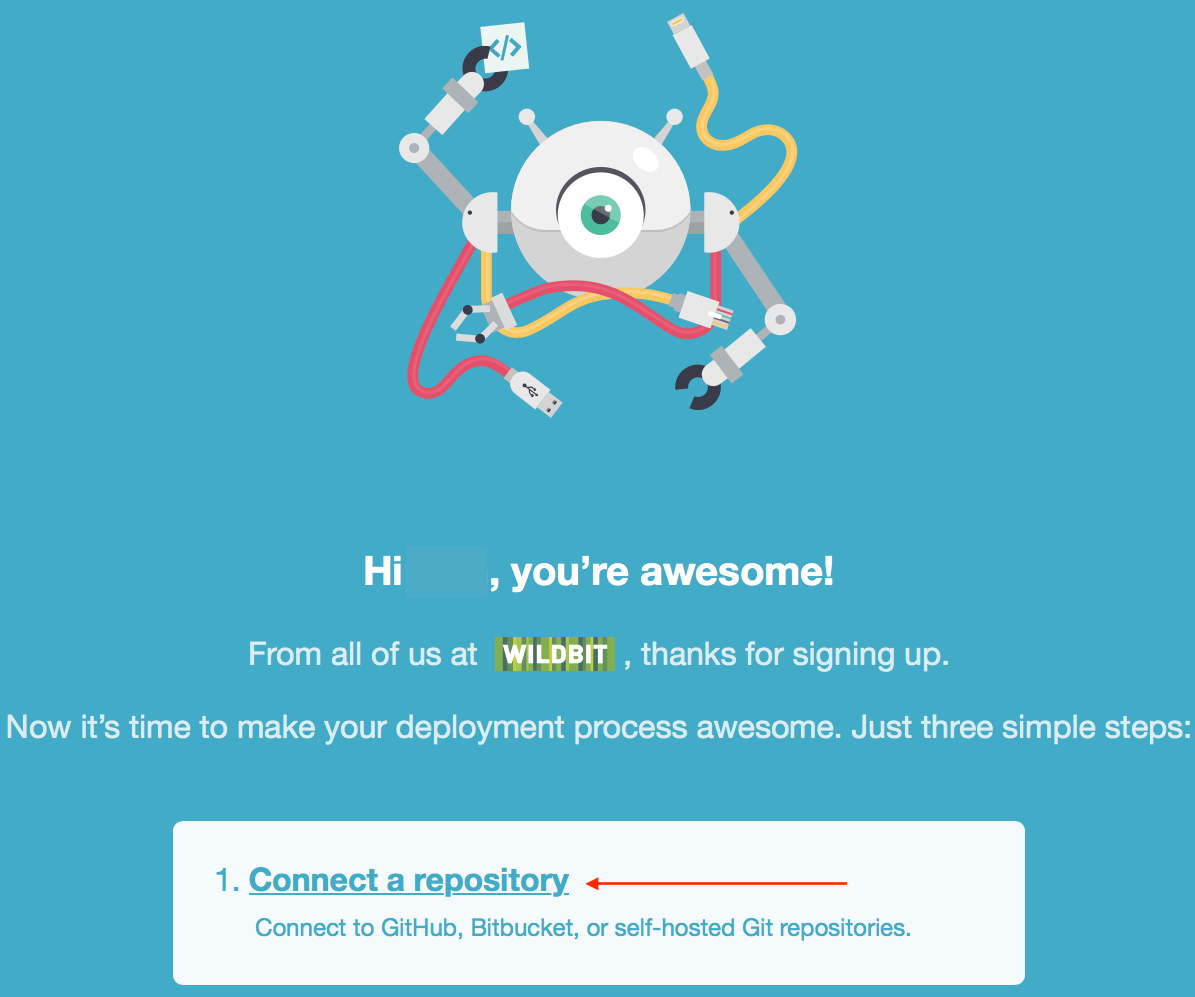
First, log in to your account at https://deploybot.com.
Next, click the link to Connect a Repository.
On the next screen, select the source of your git repository, either through GitHub, Bitbucket, or your own self-hosted repository. (We'll be connecting through GitHub for this tutorial, but the steps are similar for Bitbucket and self-hosted repositories.)
Then, click Connect New Account.
On the next screen, click Authorize Account to begin connecting to your repository.
You must have administrative privileges for the repository you are connecting to. This is the only way to grant DeployBot the privileges needed to create webhooks in the repository.
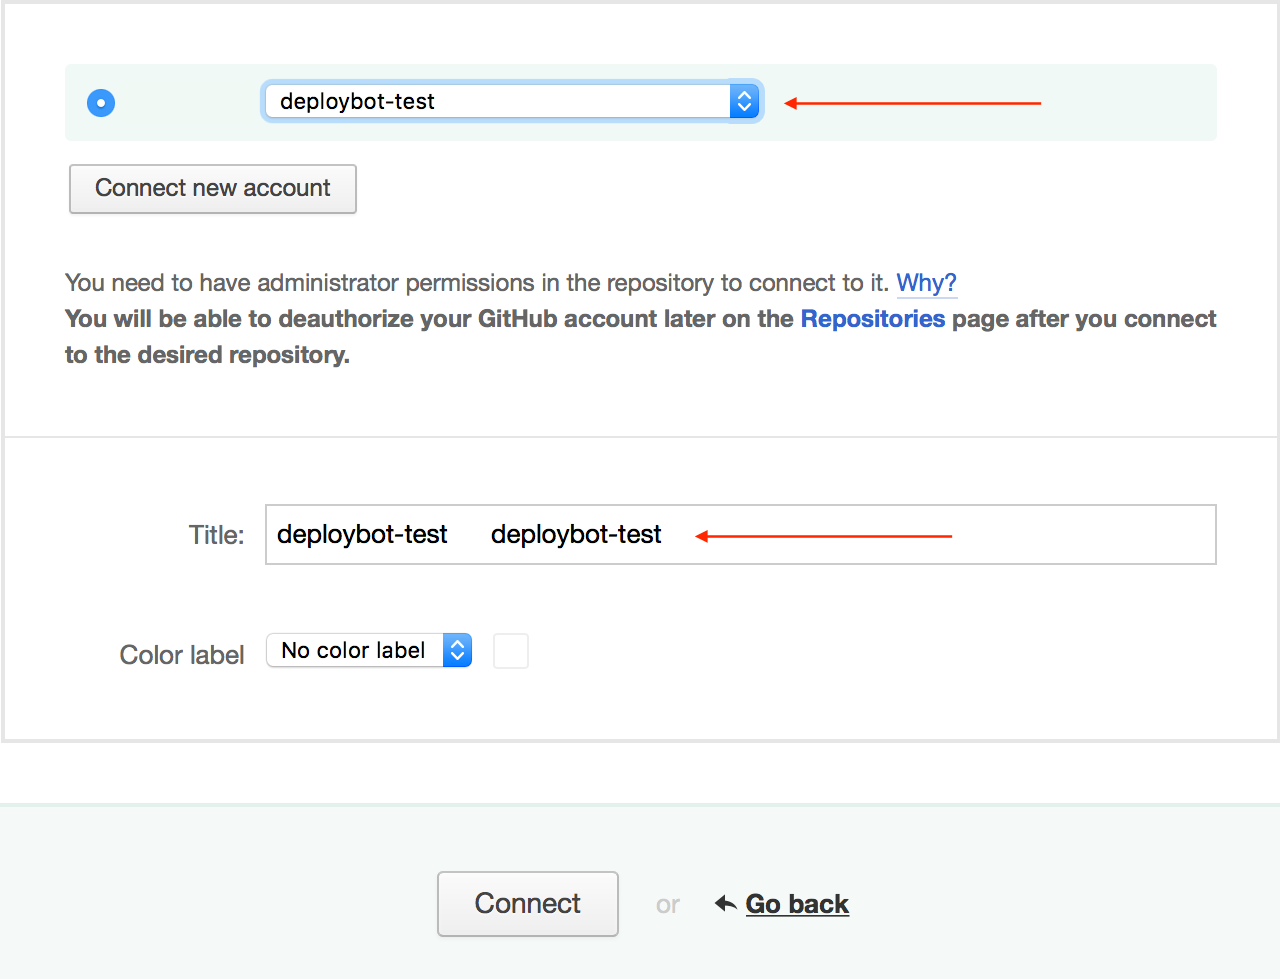
Now, select your repository from the list next to your account name and enter a title for your repository in DeployBot.
Click Connect.
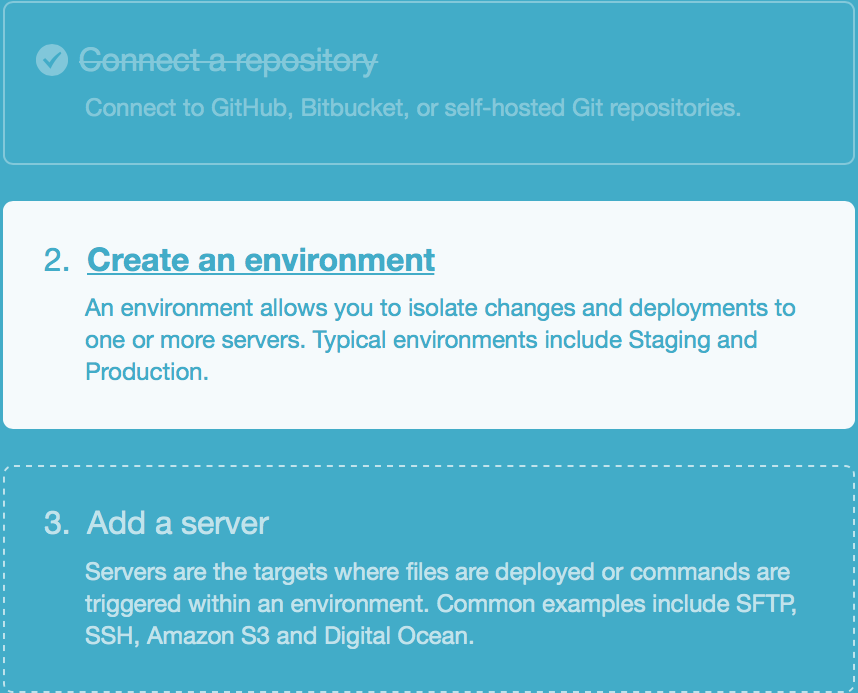
Once your repository has been connected, you'll be directed to the next step. Click Create an Environment.
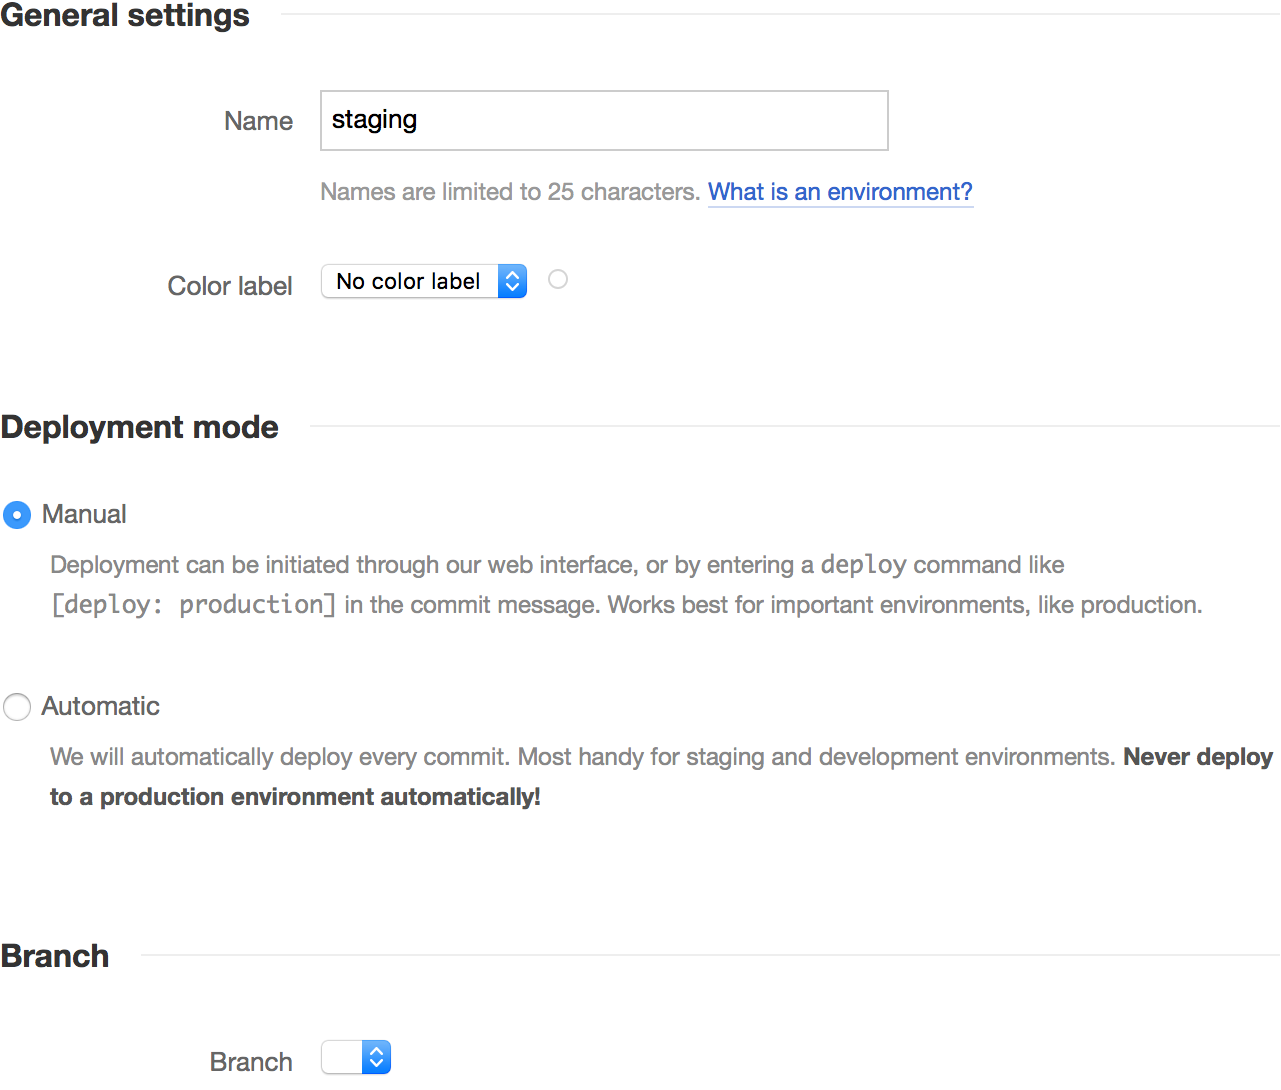
Enter a name for this environment and choose whether to deploy it manually or automatically. (Never use automatic deployment for production environments.)
Select the branch of your repository that you want to pull your changes from, and then click Save.
From the main Connect a Repository screen, click Add a Server.
Now, select Atomic SFTP as your deployment option. Atomic SFTP enables zero-downtime deployment and ensures the deployment is successful before the changes are live on your site.
On the next screen, enter the following information:
- Your server's name
- Your server's IP address
- The full destination path for your app's web root directory
- Your system user name (i.e., sellcloud)
- Your system user password
Click Connect.
That's It!
You can now deploy files from your git repositories with DeployBot.
Alert: For Control Panel Help & Tutorials, click here: Panel Tutorials


