Restoring a website from a backup has never been easier - just a click of a button. To restore an existing backup, head to the "Backups & Restoration" page. If you don't know how to create a backup for your WordPress site, check out our guide: Get Started: Create a Manual Backup


1. Localhost
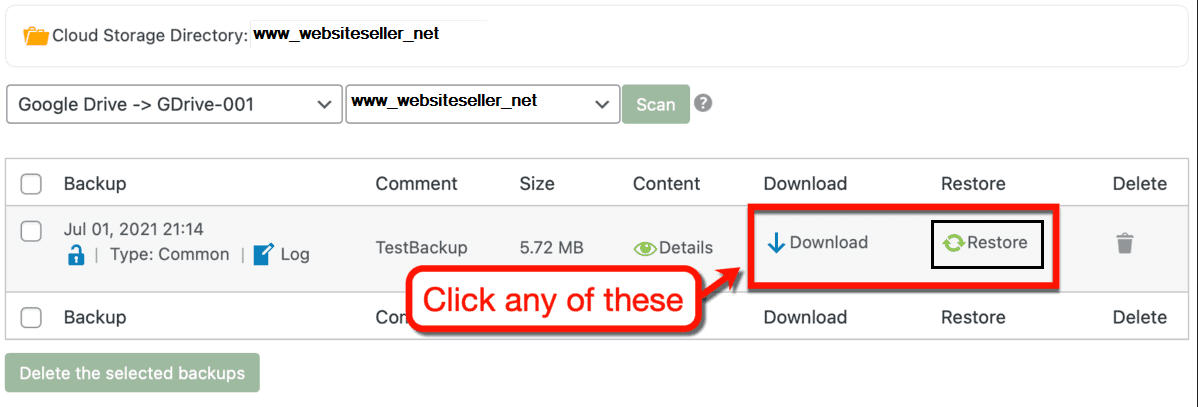
From the Localhost subtab, you can manage all backups stored in you localhost(web server). You can select backup types from the dropdown menu to display all backups of the selected type in the list with the dates of backups created. You can then click the Restore button from any backups found on the list. Whichever dated backups you think is the best for Restore.
2. Remote Storage
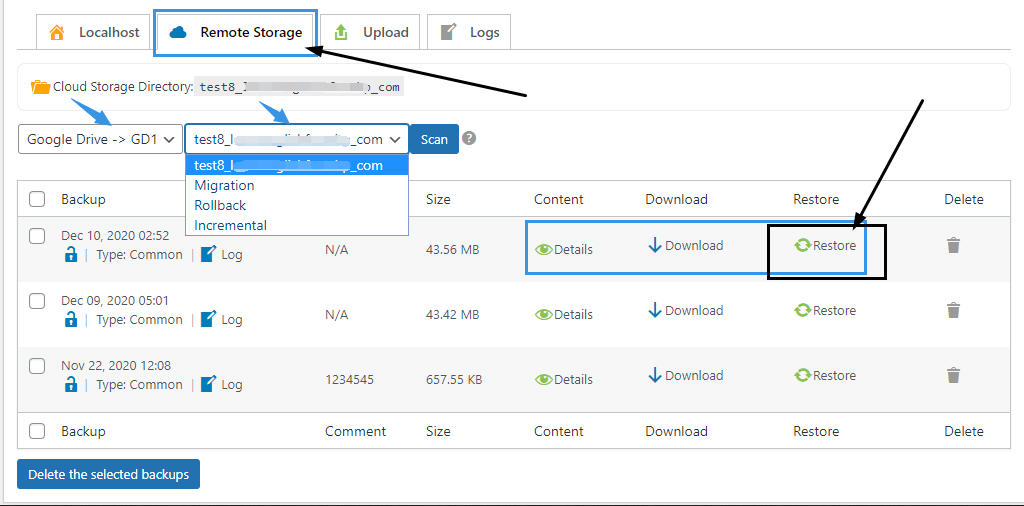
To manage remote backups, you need to switch to the Remote Storage subtab. From here, you can select backup types from the dropdown menu to display all backups of the selected type in the list. From here you can click Restore button from whichever dated backups you think is the best for restore. It will restore from your remote storage like Google Drive, Dropbox etc...
3. Upload a backup to restore
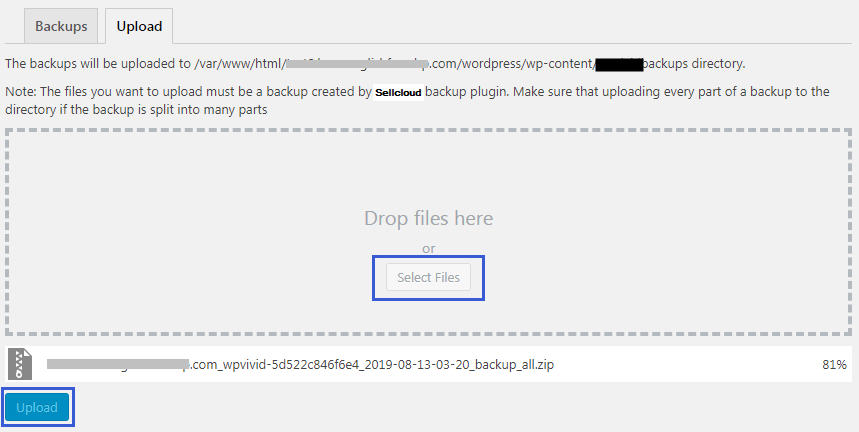
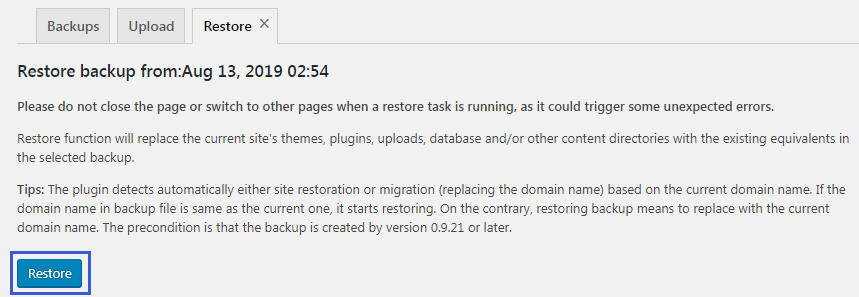
From the Upload sub-tab, you can upload a previous Sellcloud backup to the site. select the Upload option and upload the backup file(s). This may take some time depending on your connection speed and the size of the backup. You may have downloaded a backup previously to your computer and if you want to use that for restore, you can first upload it here in this sub-tab. Once uploaded, you can click the Restore button from this Upload sub-tab. (Please make sure to upload all the backup parts in a set (if any), at a time.)
.
 Important Notice restore backup
Important Notice
Please Note:
- Sellcloud Backup Pro plugin does not restore the .htaccess and wpconfig.php files as it can easily cause problems to restore the same .htaccess and wpconfig.php files on a different site. You should download and copy them manually as needed.
- Sellcloud plugin will exclude itself from a backup or migration. You can export the plugin settings from the old site and import them into the new migrated site on the plugin Settings page.