WordPress Multisite uses one WordPress installation and one database across a network of WordPress sites.
Installing Multisite
To set up WordPress Multisite on your server, first, follow our instructions to install WordPress. Sellcloud recommends setting up Multisite on a fresh WordPress installation; you'll experience fewer frustrations.
After completing your new WordPress installation, open wp-config.php from your app's public folder using your SFTP client.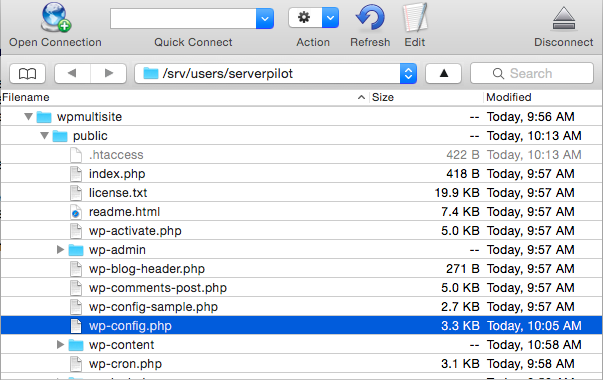
Immediately above the line /* That's all, stop editing! Happy blogging. */, add the following:
/* Multisite */
define( 'WP_ALLOW_MULTISITE', true );
Save wp-config.php, and click Refresh in your SFTP client.
Next, log in to WordPress and select Network Setup from the Tools menu.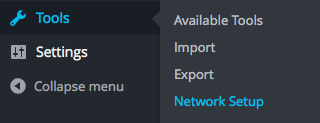
Decide whether you want your Multisite to use subdomains or subdirectories for your installation; make your decision based what will work best for your organization or network. If you choose to use subdomains, be sure to configure a wildcard domain in SellCloud and with your DNS provider.
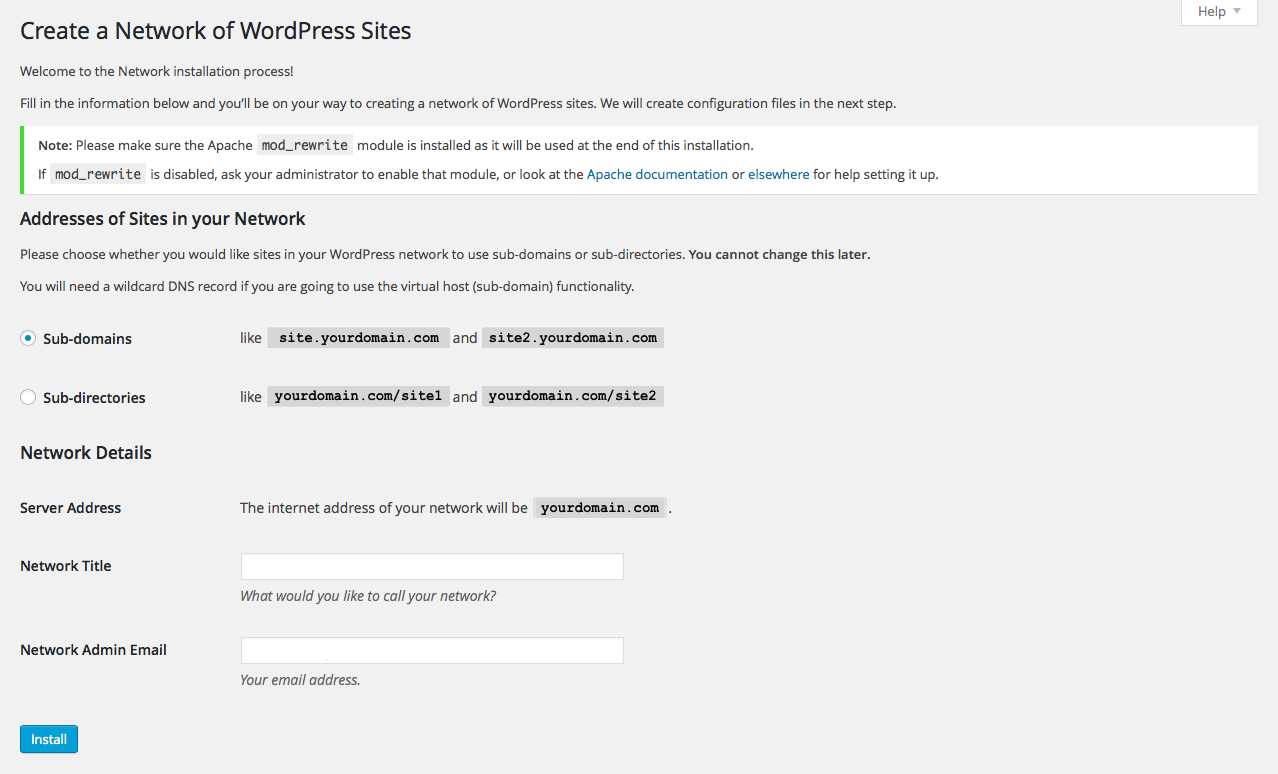
You can also name your Multisite network and enter the network administrator's email address.
Click Install.
When Multisite has finished installing, the Network Setup panel will change to show two blocks of code.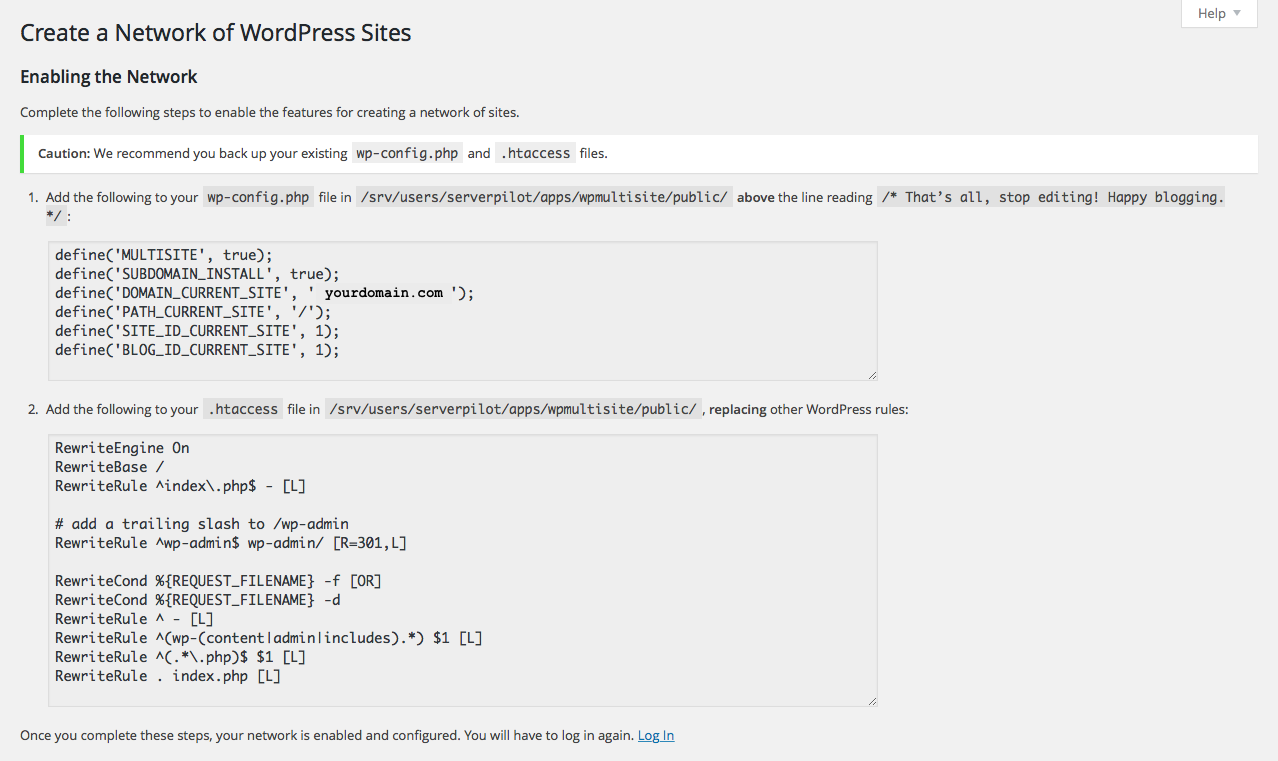
Now, open wp-config.php from your app's public folder using your SFTP client.
Copy the command block in Step One of the Network Setup and paste it immediately above the line /* That's all, stop editing! Happy blogging. */. This command is specific to your Multisite installation.
Save wp-config.php.
Then, open your app's .htaccess file.
Copy the command block from Step Two of the Network Setup and paste it between the lines <IfModule mod_rewrite.c> and </IfModule>, replacing the existing WordPress rules. This command is also specific to your Multisite installation.
Save .htaccess, and click Refresh in your SFTP client.
Click Log In at the bottom of the Network Setup page to log back in to WordPress.
Using Multisite
You can now start adding sites to your Multisite network.
Select Network Admin from the My Sites menu at the top of the screen.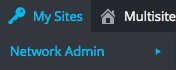
From your Network Dashboard, you can add new sites and users and manage existing sites and users.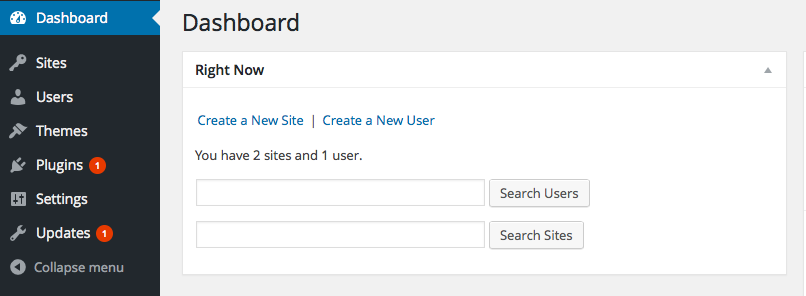
If you give them administrative privileges for their own sites, new users will be able to control their own plugins and themes.
As the network administrator, you can give yourself administrative control to easily manage all plugins and themes across your entire network of sites from Multisite's central hub.
Alert: For Control Panel Help & Tutorials, click here: Panel Tutorials


